[ORIGINALLY POSTED around AUGUST 8-10, 2017, Suffered post loss from migration of hosts, so re-posting on 2018-09-09, about a year later, still waiting on Part 2, when all is complete. Please read everything past this as it was intended on August 2017. Thanks to the Internet Wayback Machine (web.archive.org) for being able to recreate my post!]
I will be posting the installation article a few days from now, but first, I wanted to catch my readers up on what led us to this point and provide you with a little tease…
Some History
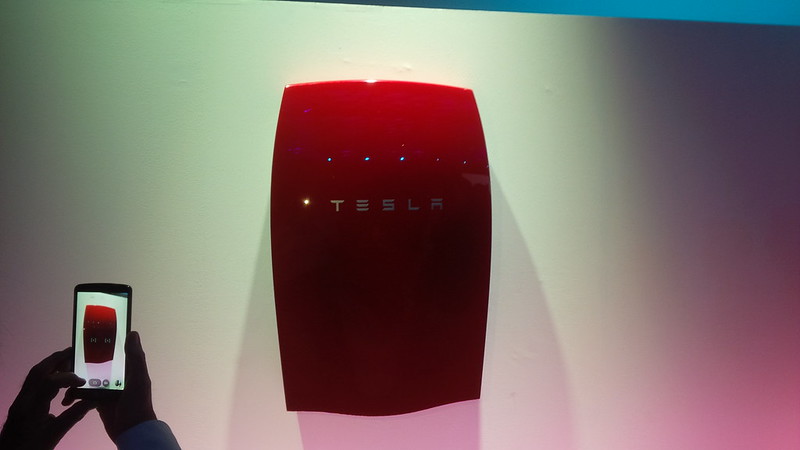
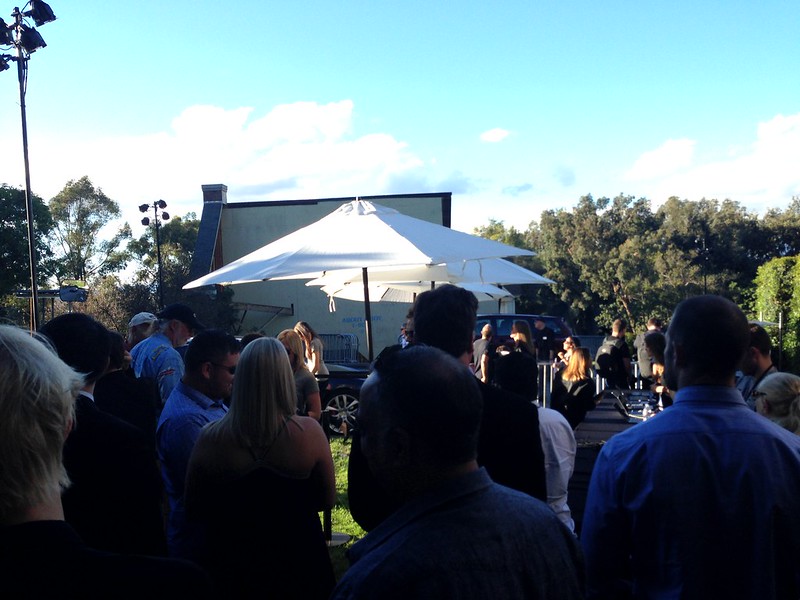
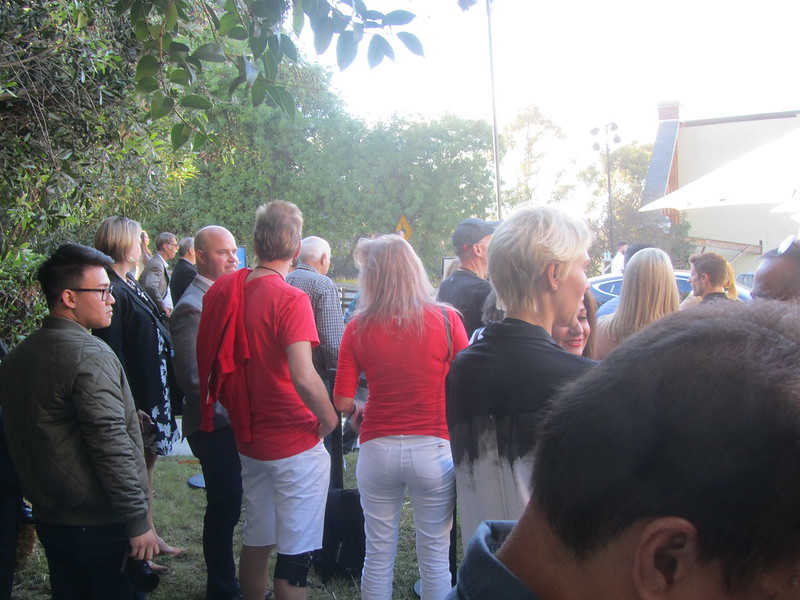
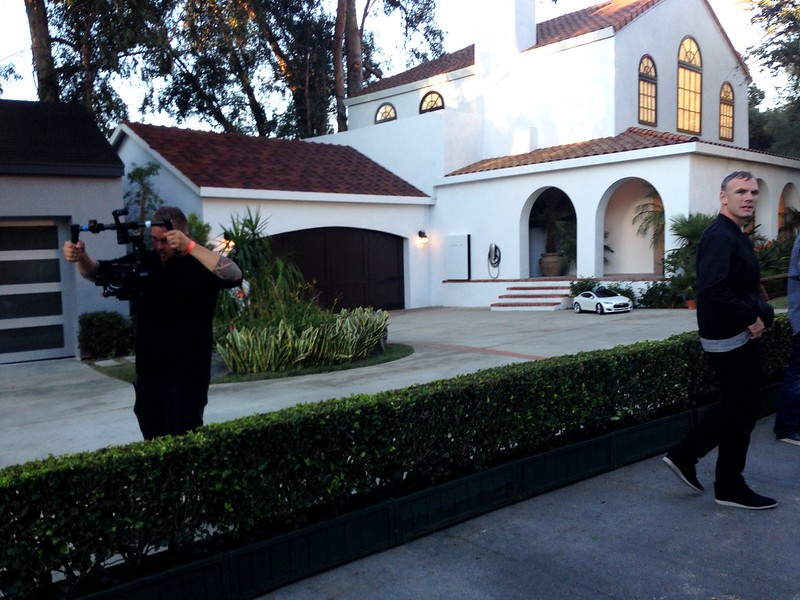
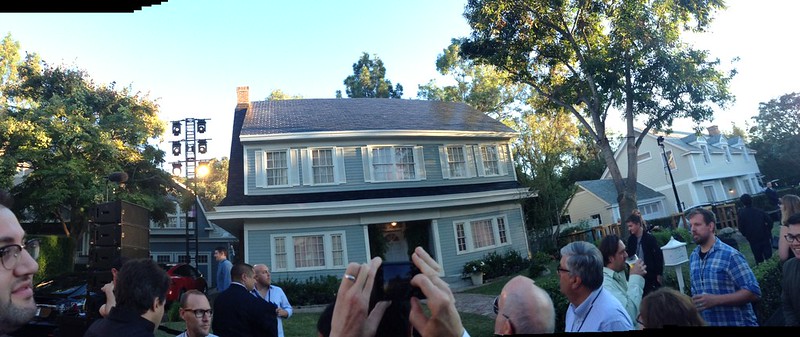
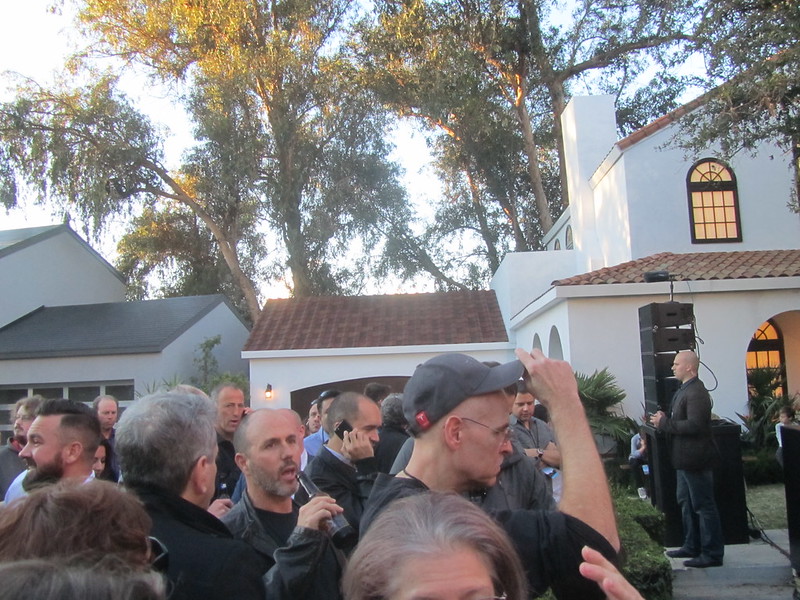
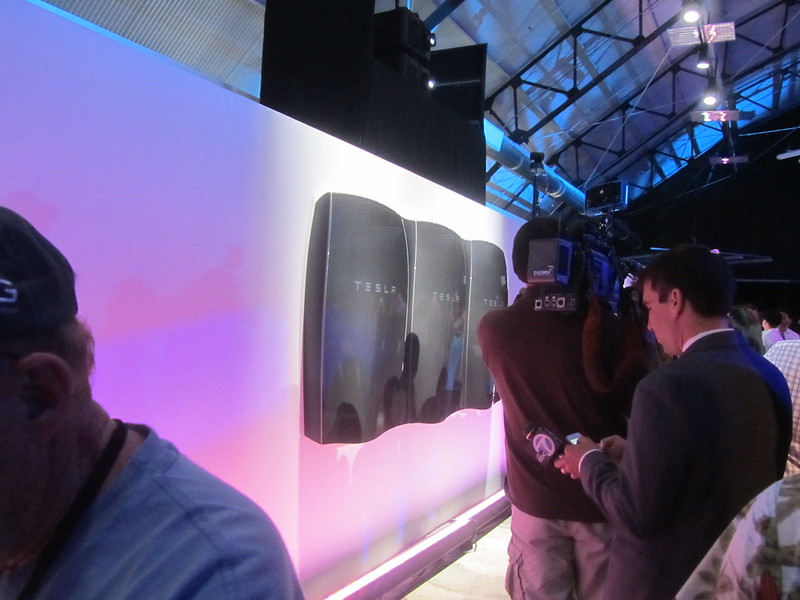
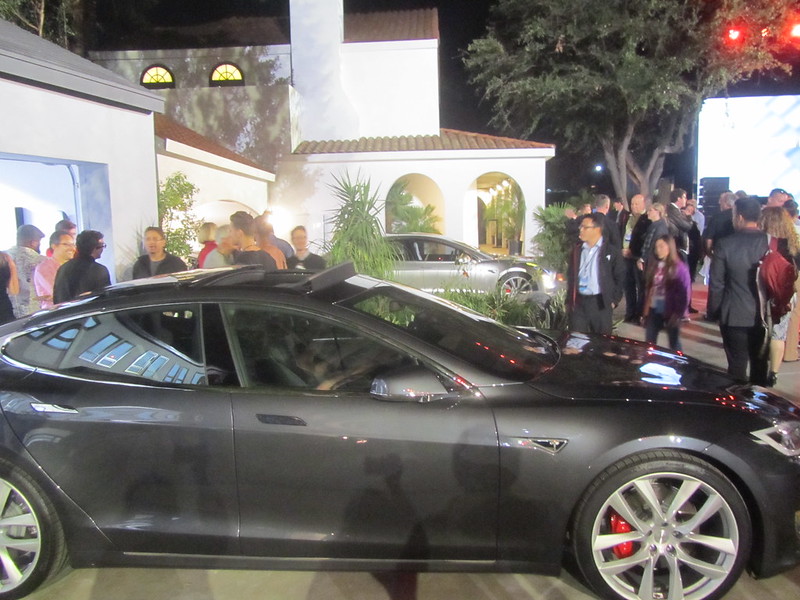
On April 30, 2015, we were introduced to Tesla’s PowerWall. We had a great time at the party. We were supporting some of our friends in the EV media (namely Teslarati and Transport Evolved) by providing some coverage on social media. I never did get to do a full write-up of the event as we departed for our epic Here, There, and EVerywhere roadtrip from Southern California to Maine and back the next day.
I did a bunch of tweets during the original Tesla Energy, PowerWall and PowerPack launch event from April 30, 2015…
(Here’s a link to the Flickr album from the Tesla Energy event.)
Some selected tweets from the original Tesla Energy Event:
Still waiting for Elon to show up at PowerWall Tesla Home Battery #TeslaLive https://t.co/C24NB1RnB9
— Dennis Pascual (@dennis_p) May 1, 2015
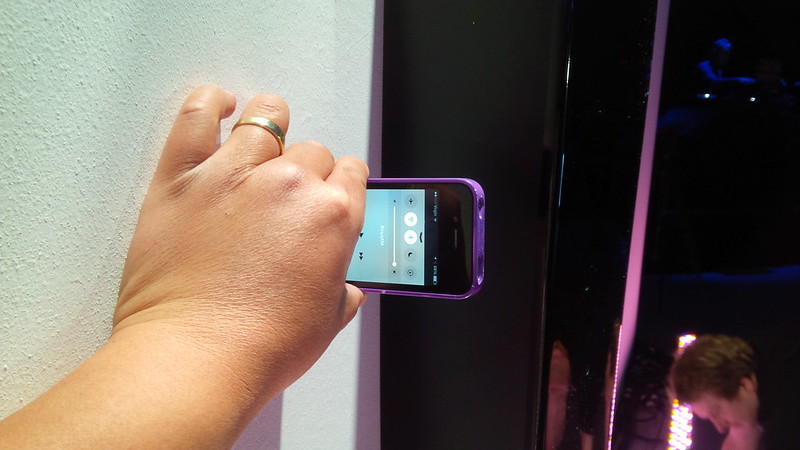
The Home solution is slightly wider than an iPhone 4s #TEatTesla https://t.co/2odpKLpbkE
— Dennis Pascual (@dennis_p) May 1, 2015
#StackedPower #TeslaEnergy RT @dennis_p: Close up of the Commercial @TeslaMotors 100kWh pack #TEatTesla http://t.co/N5iJGyO4hG
— Anthony Nanas (@dhuDz) May 1, 2015
However, a few things happened at that party.
- We grasped the applications we can use the PowerWalls for and were intrigued.
- We signed up to be “on the list” to buy several PowerWalls.
- And on a completely different note, we volunteered to help Beta Test and provide content to the Teslarati Mobile App which needed help fine-tuning and more importantly content for Tesla locations ex. California.

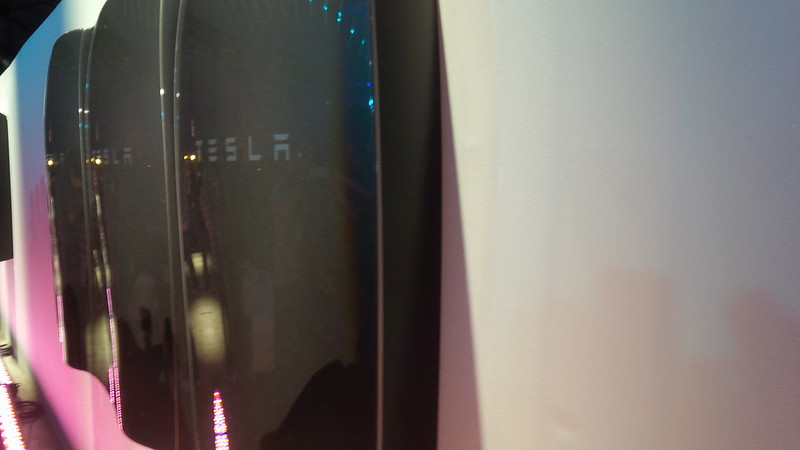
Back to the PowerWall. As you can see above, PowerWall 1 is aesthetically pleasing. It looks like modern art and looks great hanging on a wall.
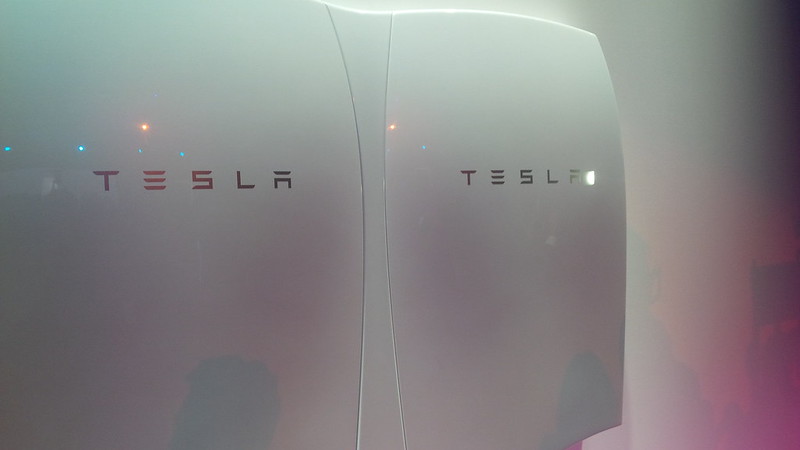
One can order it in many colors, and, more importantly, many sizes.
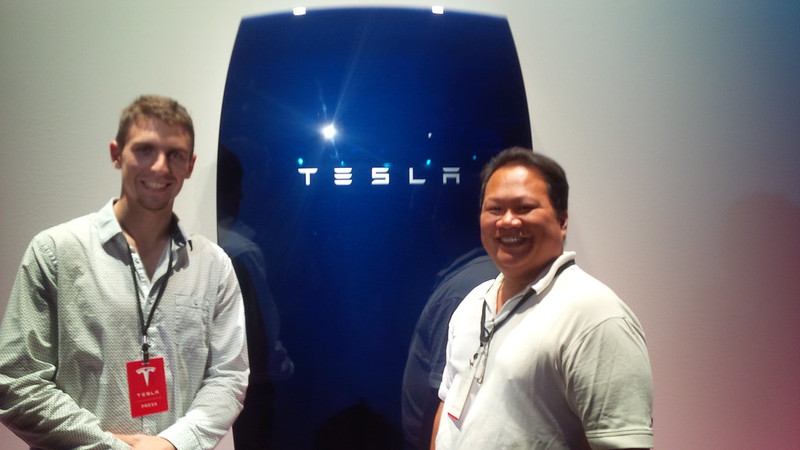
(Here I am pictured with @DanielSparks with the nice blue finish PowerWall.)
However, the original PowerWall was limited in its applications and at the time of the original party, the customer had to decide whether to buy the product for daily use OR for backup purposes. Additionally, the PW1 was more expensive, required purchasers to install their own DC-AC inverters, and had half the storage, between 7-10 kWh of battery storage, depending on which application people purchased the PowerWall for.
Regardless of the application, we thought that it would be a great add to our home and we spent many a conversation on our our epic Here, There, and EVerywhere roadtrip from Southern California to Maine discussing what we would use our PowerWall for.
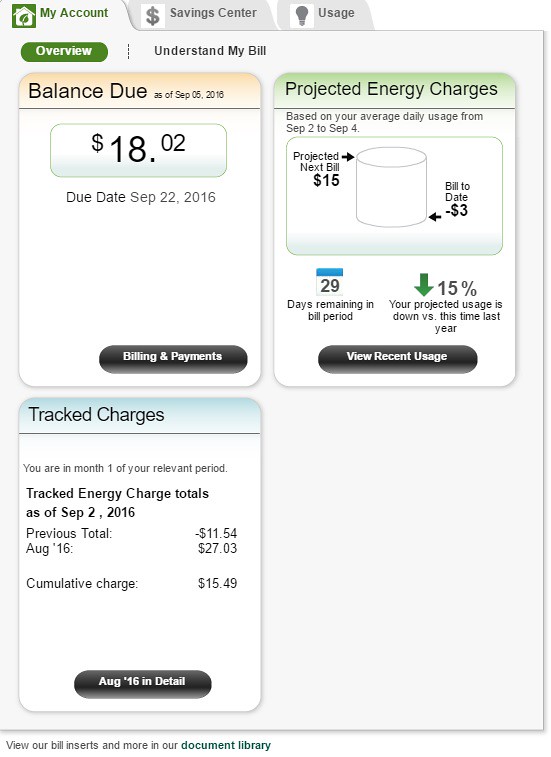
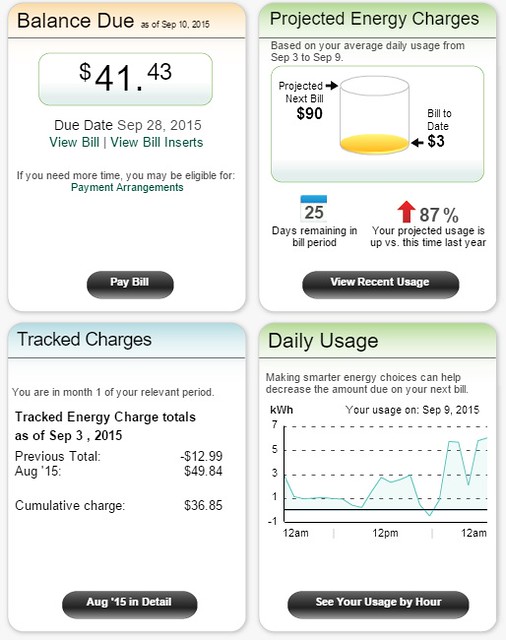
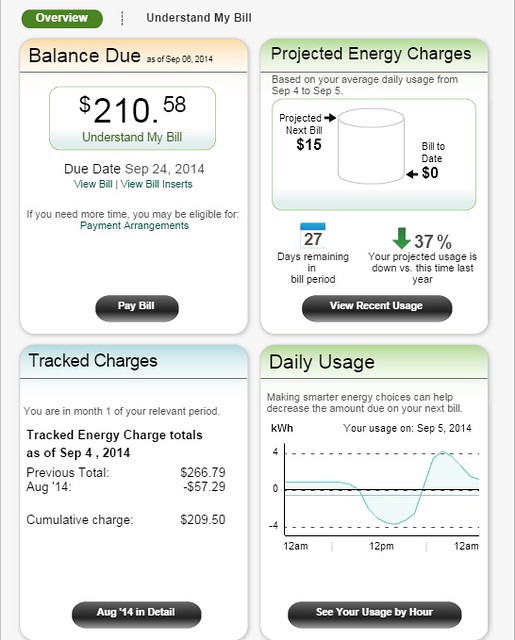
I was hoping to adapt the system to eventually be the storage for our excess solar production, in the future. However, what I wanted to use the PowerWall for was to charge the batteries during our cheapest rate which is overnight and discharge it for our use during the peak (so we can maximize the solar energy that we send out to the grid and use the off-set as greater savings). The original PowerWalls were strictly DC and required an external inverter. We figured to “get in line” and wait until we get the call from our first night’s reservation to make that eventual decision.
Then… NOTHING HAPPENED. Tesla sold and installed a bunch of these PowerWall 1 systems in Australia and Germany, but very few in the US. I was in the “right” state to possibly qualify for Tesla to install a PowerWall 1 into, we never got the call. In fact, I know several who made reservations for PowerWall 1 that never heard from Tesla. To be fair, the PowerWall 1 reservations was just a form to show intent. No money changed hands at the reservations, unlike other Tesla reservations.
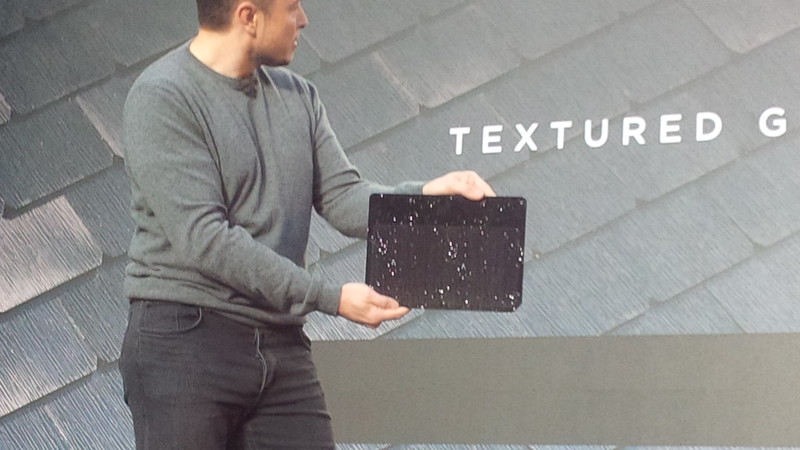
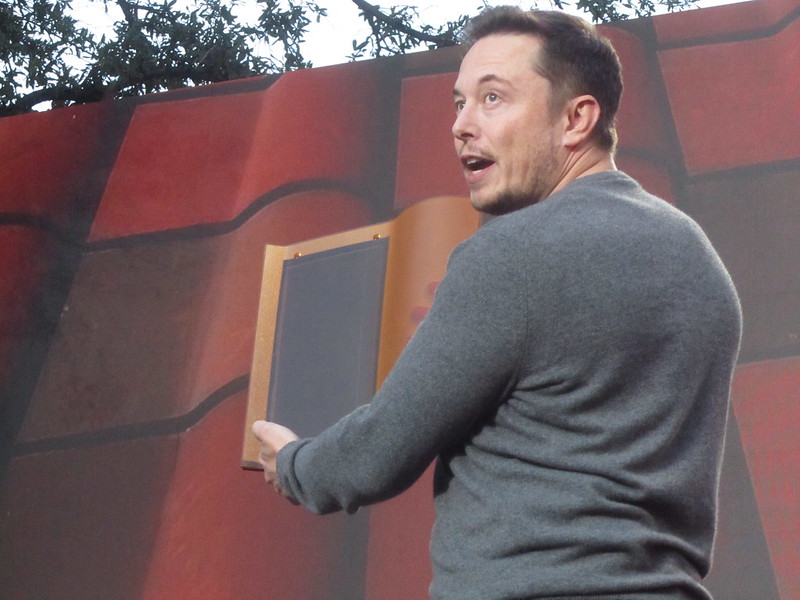
Tesla Solar and PowerWall 2 Event
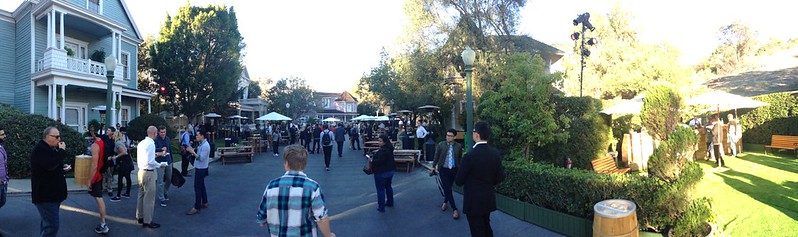
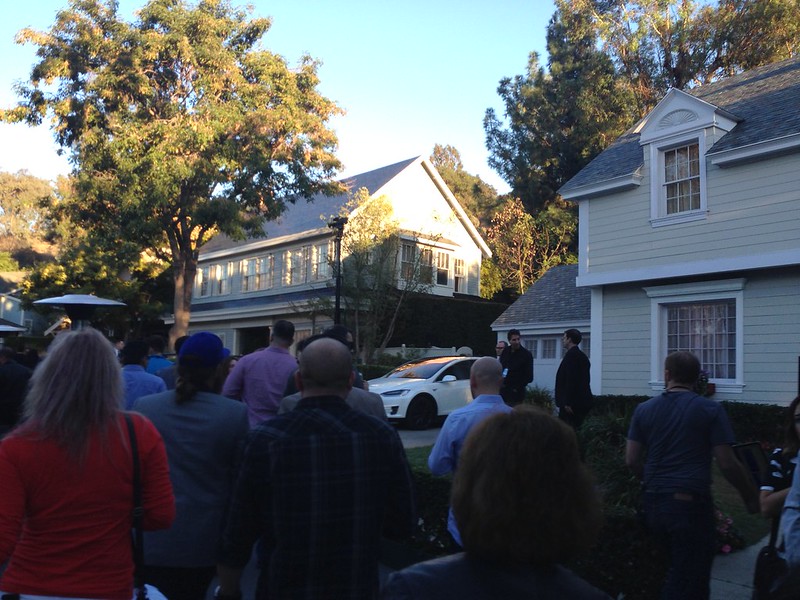
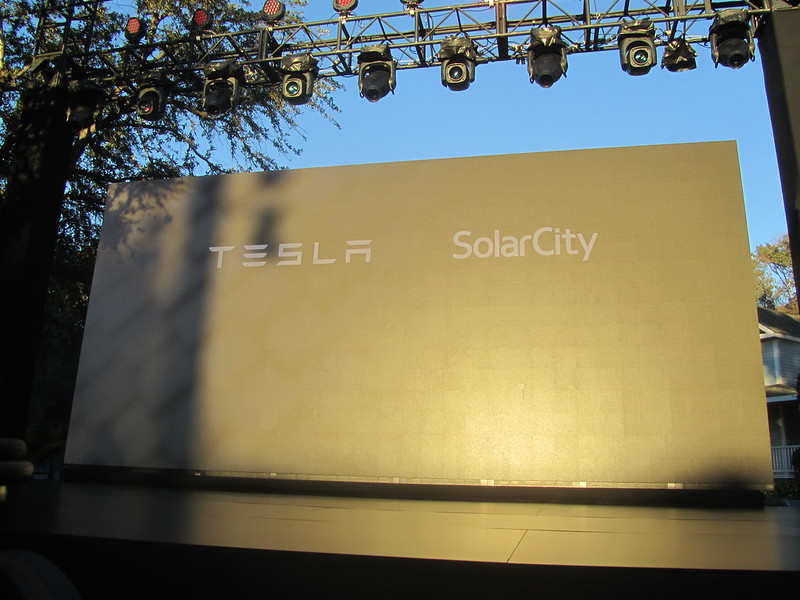
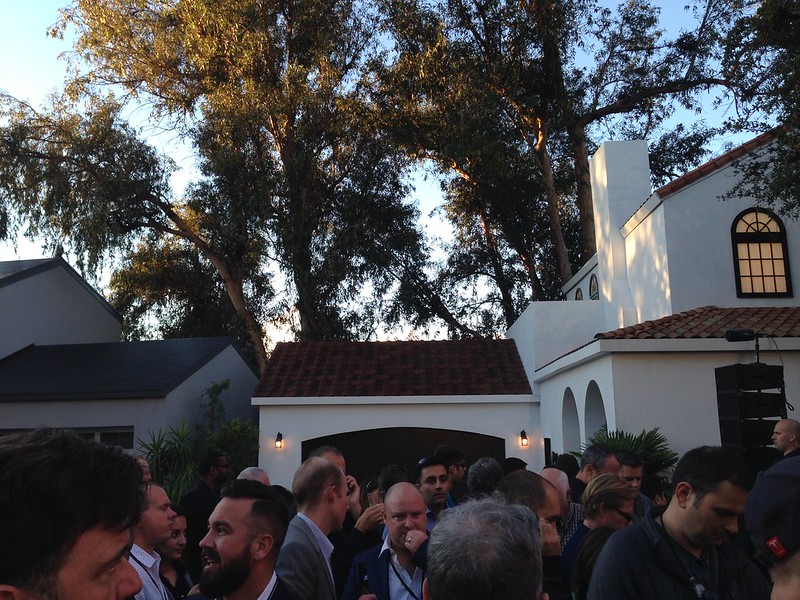
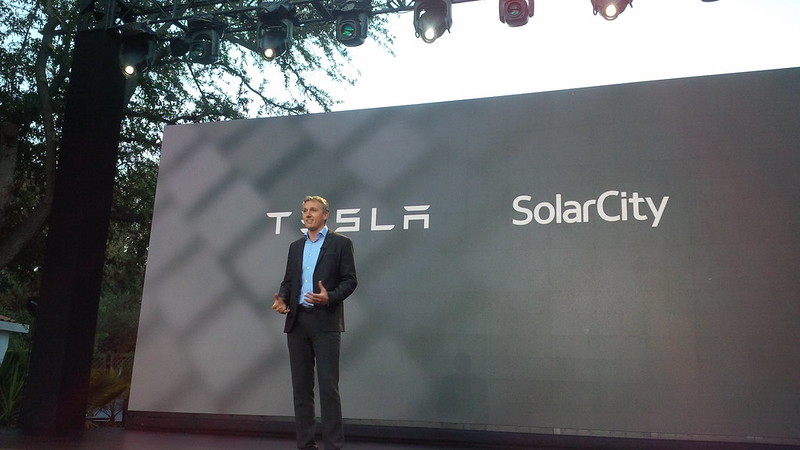
On October 28, 2016, we attended the Tesla Solar event at Universal City. We gladly covered the event for our friends at Teslarati under their Twitter handle for this party as some of the regular folks had personal commitments and conflicts. So much more details of THAT event on a proper article on the blog, so you can read more about that event in the link.
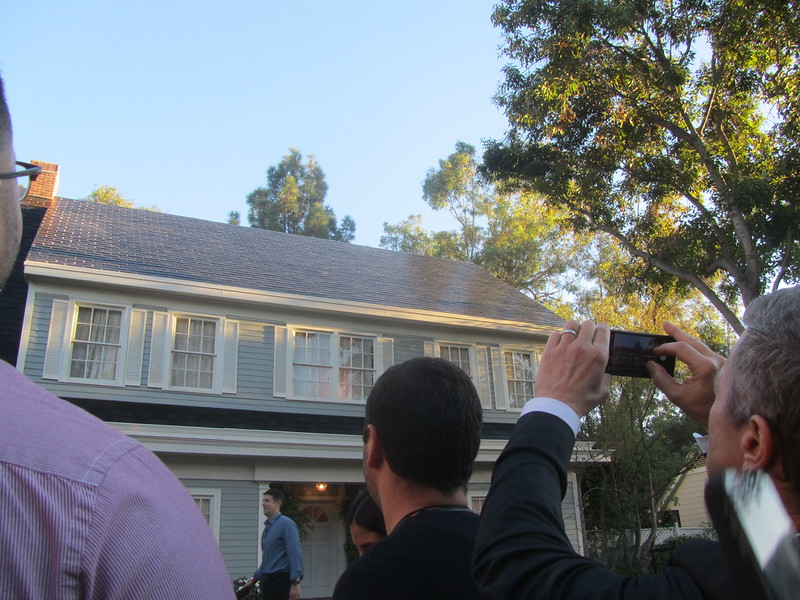
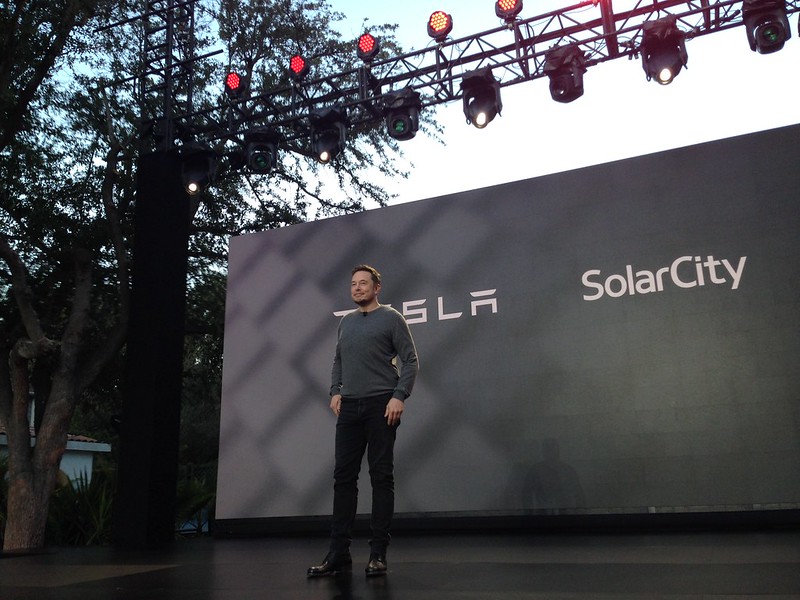
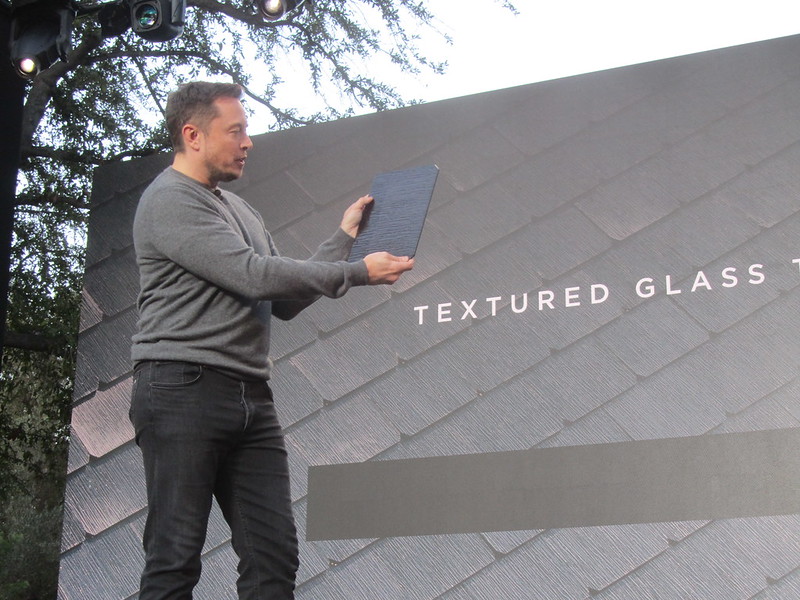
We put a reservation AND a deposit down for three PowerWalls at the event and waited. The PowerWall 2 is a dramatic improvement over PowerWall 1 in everything but its appearance. I prefer the aesthetics of the original PowerWall, but loved everything else about the PowerWall 2. With an integrated DC-AC inverter, the PowerWall 2 was more flexible than the PowerWall 1 and can be used to charge off ANY source. I emphasize this as this was the categorization from many Tesla Energy folks that I spoke to. Of course, Elon and crew focused the ability to recharge the batteries off renewable sources, specifically the Tesla Solar Roof that was the focus of that October night’s event, but there was nothing technically about the PowerWall 2 that precluded it from taking a charge from the electrical grid. So, typical Tesla. Order placed, and now the wait…
Some seemingly random Contact Points throughout the process.
I get my first phone call several weeks (months) after the initial deposit, the agent was nice enough, but no information.
Several months later, on February 1 and 2, I get a phone call AND an email and had some conversations with some Tesla Energy employees.
The first one left me an email
Hello Dennis,
Thank you for your interest in the Tesla Powerwall 2. My name is [removed to protect the innocent] and I just tried to reach you by phone to respond to your request for information about the product.
I’m happy to answer any questions you have about Tesla’s Energy products, including Powerwall 2, and our solar energy options.
Please feel free to respond via email, or give me a call on my direct line at 725-XXX-YYWZ.
I look forward to speaking to you at your convenience.
He signed the email and his title was Inside Energy Advisor, Solar City.
I responded via email
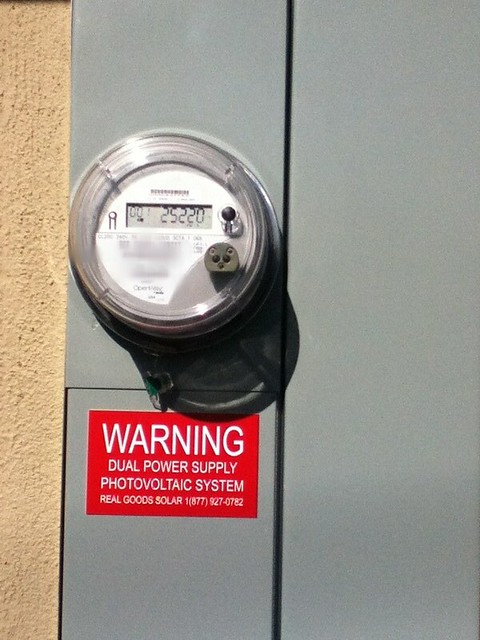
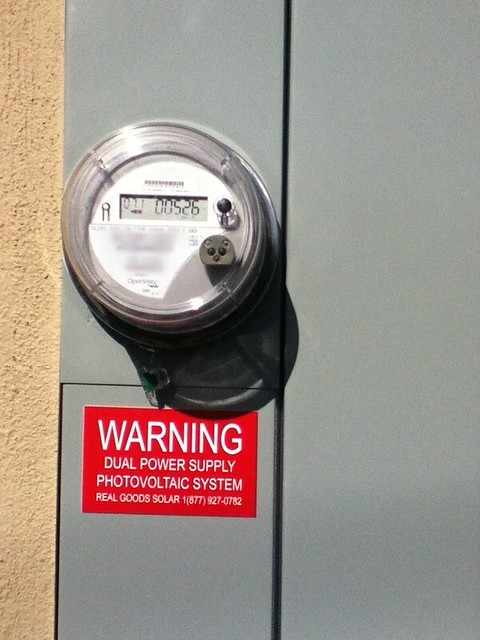
I returned your call today.I will be available to speak tomorrow after 10AM tomorrow.Please call me back. I have registered my interest in PW since PW1 and paid a deposit for 3 PW2s…I am looking to use the unit for charging on AC during Super Off Peak (overnight) and use the PW during Peak (when my solar is also feeding into the grid)We have net metering in California and I want to knock out all my Peak needs and get more credit for it during the day.(until Net Metering is done, then I’ll charge from the panels.) I have Solar through Real Goods Solar (on a PPA (fully prepaid))
And followed up with a phone call and got the following as a response from the person that I spoke to on the phone.
Hi Dennis,
Thanks again for taking some time for me to talk about your interest in Powerwall 2. As I mentioned on the phone, we expect to schedule your site survey for you by the middle of the year. I’ll send you another email when I have more information of Time of Use load shifting and the state of net metering in California. Feel free to consider me your point of contact here. I am available to answer any questions you have, and address any concerns about your home’s ideal energy solution.
The person I spoke to had the title Referral Energy Advisor | SolarCity.
So, it would seem that SolarCity (now Tesla Energy) has been integrated into the delayed gratification ways of Tesla. But, they were at least setting expectations in February that this won’t be happening for a few more months. The Site Survey wasn’t even on the radar until mid 2017.
Exceeded expectations – Site Survey
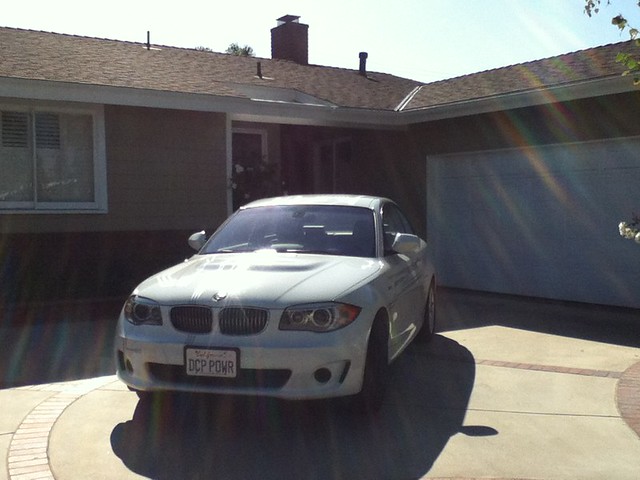
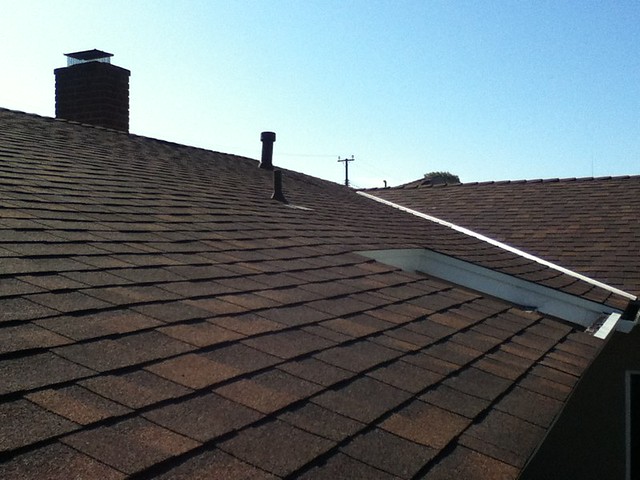
Wow. Even though Tesla’s communications in February was that the Site Survey wouldn’t be until mid 2017, we actually were contacted in March and got our Site Survey scheduled and completed on March 22, 2017. The guy who came out from Tesla was friendly and accommodating. He took measurements of the house, photographs of some parts and and we discussed various locations of placement for the PowerWall 2. At the time, he was looking at spreading the PowerWalls side, by side, by side, akin to how the PowerWall 1 was configured and wall mounting the unit.
Apparently in March, Tesla was unsure how to take care of the middle units of a stacked configuration, should failure occur in the field. I explained to the gentleman that we saw the stacked configuration and understand that Tesla was going to deliver on that configuration as well, so we would like to design the one to the house in that manner. He capitulated.
The next challenge with regard to the initial location discussions was the Tesla representative wanted to place the units (stacked or unstacked) in a heavily trafficked location of our home. Our gardeners and others walk by that section all the time. Additionally, there is not much room to walk by there, so we identified a location that he felt was controversial because of its exposure to sunlight. Nevertheless, he took notes to bring the whole solution back to the engineers to approve of any of the plans in our configuration. It would take weeks before we heard back regarding this information.
Self Generation Incentive Program
The second week of April 2017, I started sending some documents that Tesla required for the project, utility bills and the like. I assume this was to get my utility account information so that Tesla can work with SCE to get the installation approved, etc. Furthermore, I was interested in the Self Generation Incentive Program (SGIP) and filled out the paperwork in April since the application program from the state was re-opening on May 1, 2017. One thing I learned in this process, because I was ordering three PowerWall 2, that kicked OUR order into the Commercial and not Residential traunch for the SGIP. Needless to say, it didn’t look good to get the help from California, and this was later confirmed that we “missed” qualifying for Step 1 or 2 of the program and hopeful for Step 3. As opposed to other incentives for Tesla Purchasers, this California program is filed on the customer’s behalf by Tesla (or whoever you’re purchasing your battery storage from.)
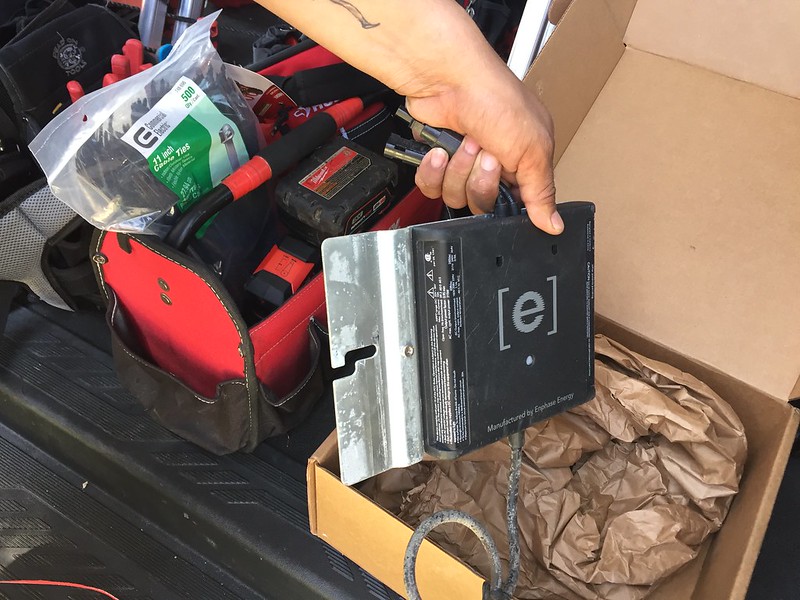
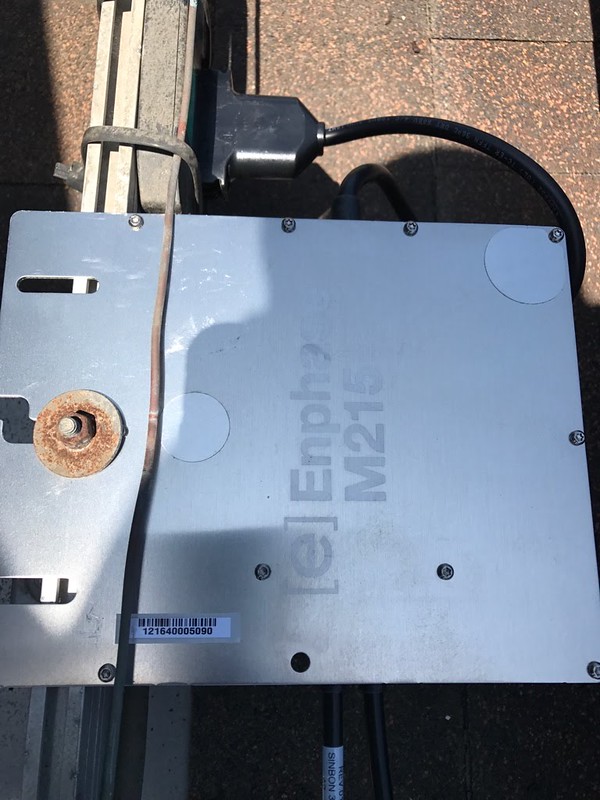
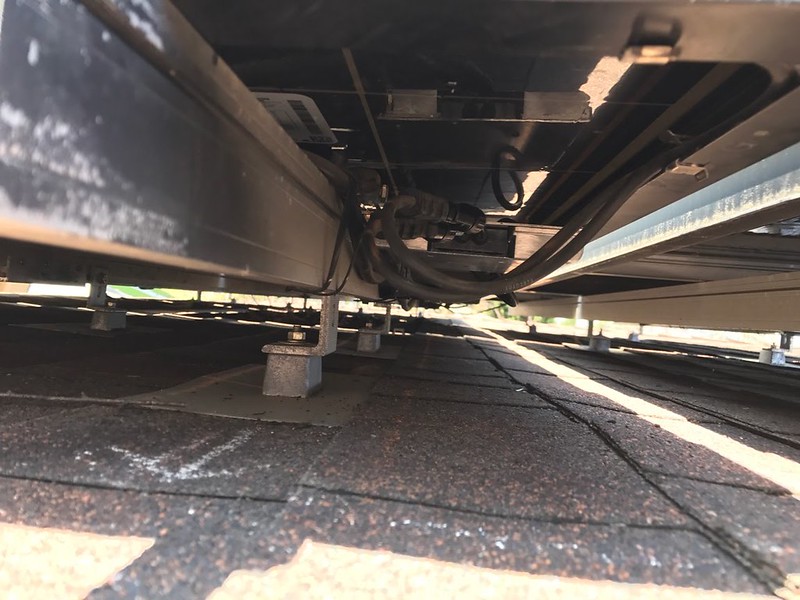
It was also around this same time that the design was getting tightened and our contract with Tesla was getting finalized. The engineering drawings arrived with the proposed PowerWall 2 location in the wrong spot. It wasn’t even on any of the spots that I discussed with the site engineer. A bunch of emails and phone calls later, we clarified and agreed on the location that we wanted to install the product in. Throughout this time, we understood that we would be getting the AC PowerWall 2 as we have micro-inverters from our Real Goods Power setup. Additionally, we continue to be interested in charging the PowerWalls during the Super Off Peak time of 10pm to 8am. The same times that we charge our EVs.
On April 28, 2017, we executed our Agreement and the wait to install started.
Install Scheduling and Specifications Call
On Sunday, July 9, I received a call while we were on a roadtrip to the Bay Area and had a great conversation with a very knowledgeable Scheduling Specialist who was able to answer and confirm all of our requirements. As I had indicated since the beginning, with the AC PowerWalls, we continue to be interested in recharging the units using the grid and using our Super Off Peak while Net Metering and those tariffs were still available. He mentioned to us that current projections from Tesla in July was that the Off Peak scheduled charging that I expected the system to do was being finalized and expected to be released in approximately four weeks. With that, we identified our installation date for Monday and Tuesday August 7 and 8. We were told that we should expect to have power off for at least half the day for both days (four hours for each day.)
Concrete Pad pre-installation
After the scheduling call, one of the items on the contract that was still unsettled was the concrete pad that I wanted installed to floor mount the three PowerWall 2 units on. I did not want to have the units stacked and tear the wall off, so, I asked Tesla about those. On our original contract, it showed a $0 value for the work and it was listed as additional and optional. After further discussion, it turns out to be another $500 that Tesla was going to charge for the concrete work.
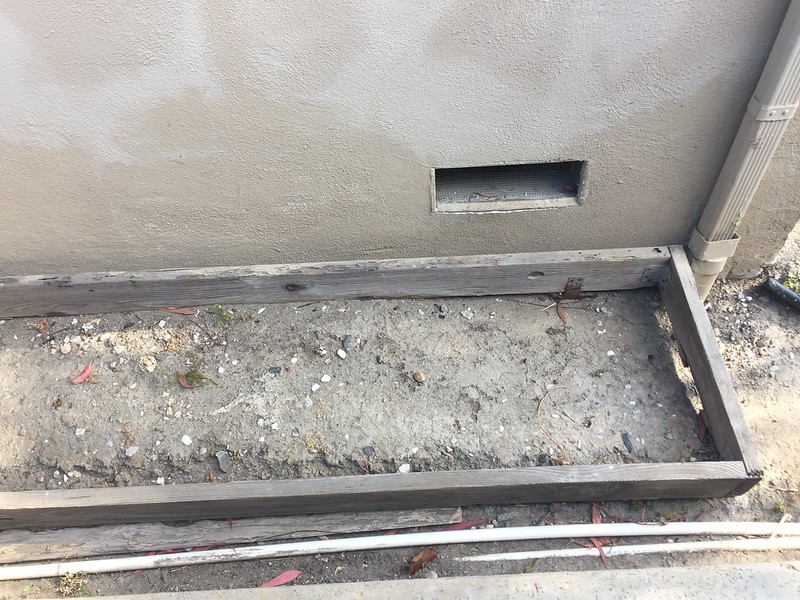
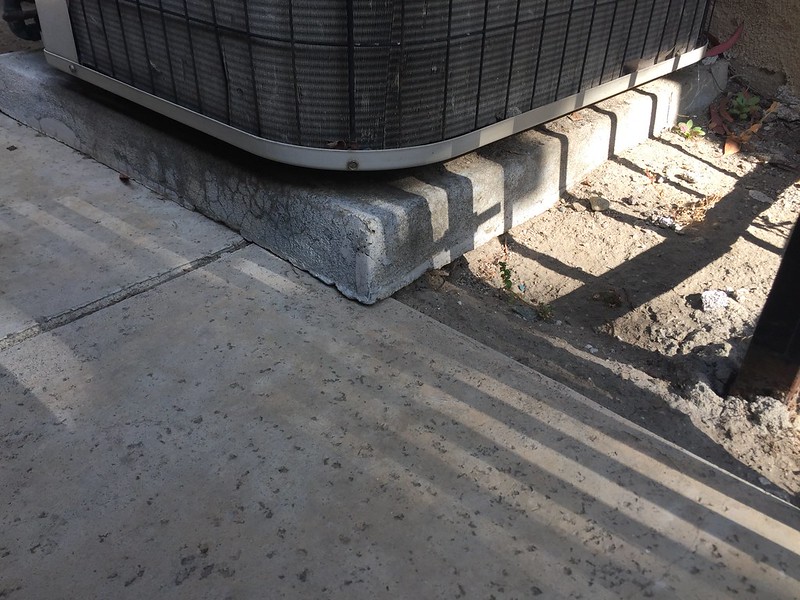
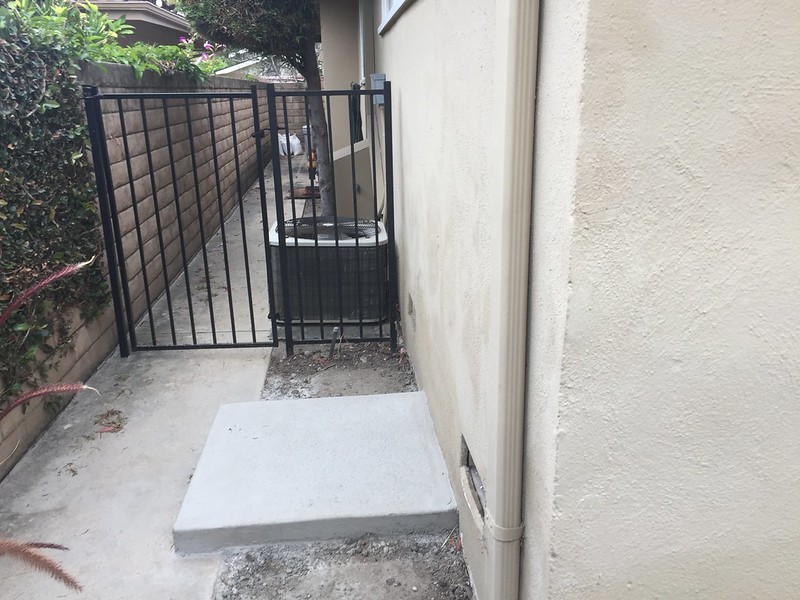
To prepare for the PowerWall 2, we needed an old planter removed and replaced.
Here it is before:
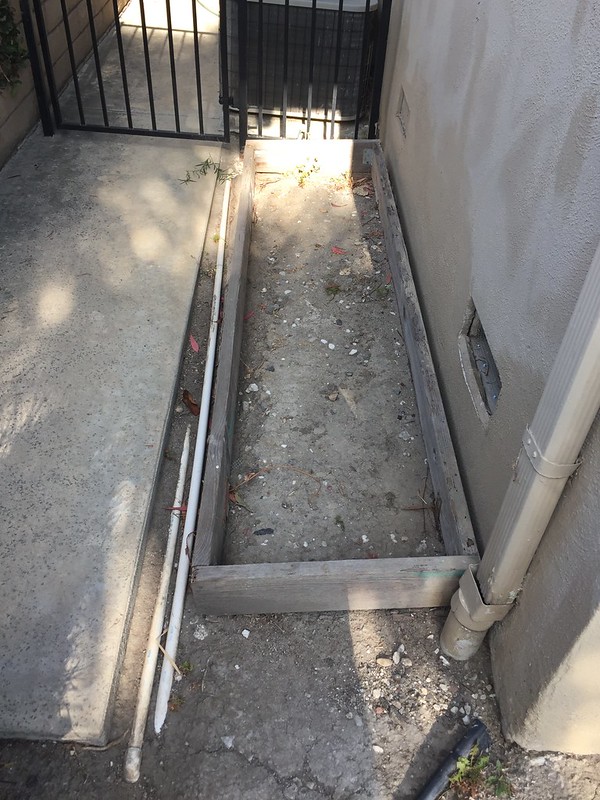
And we wanted the concrete pad to be an inch taller than our airconditioner.
Instead of having Tesla do the work, we got a local concrete guy to take care of it for less than $200.
It took a little while to get specifications from Tesla and they started off with a 48×48 inch concrete pad. I said that sounded excessive, and they finally said 36×36 inch pad. That still seemed big to me, but decided to ask our concrete guy to do a 37×37 inch pad.
So, a few weeks prior to Tesla’s installation, on July 22nd. We had our concrete pad completed.
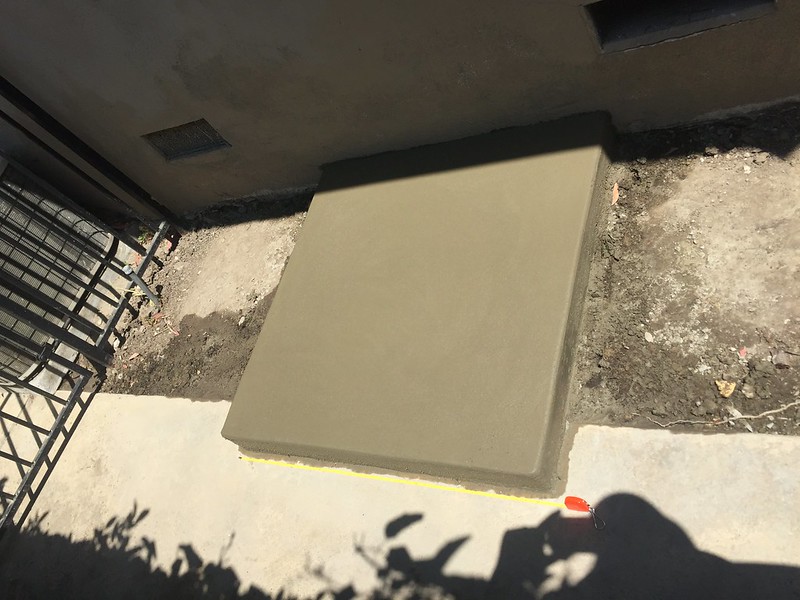
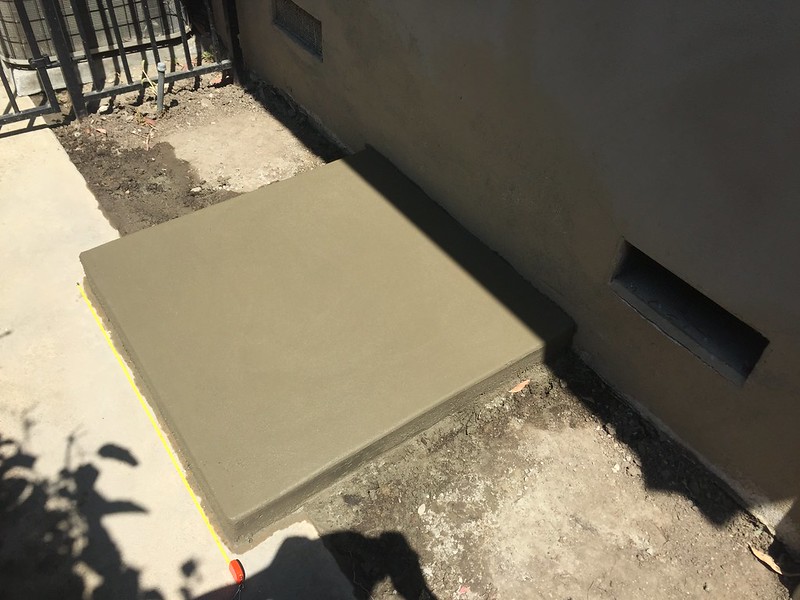
We asked him to raise the pad an inch above the airconditioner, so it is a 4 inch rise, and not a 3 inch one.
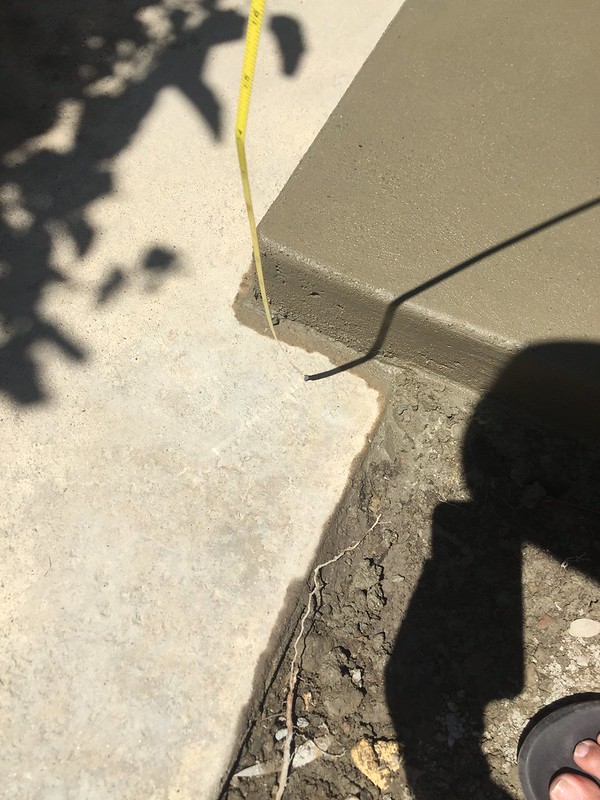
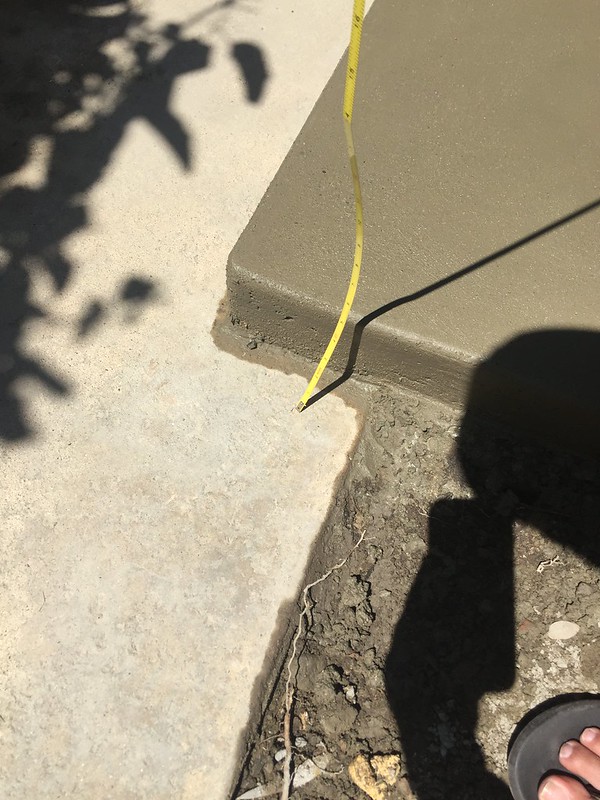
Here it is dry and waiting for the installers.
Waiting for Godot, err… Tesla
Having completed our concrete pad… we waited… Being a long-time Tesla owner is like being in Samuel Beckett’s play… Except, it’s not Godot that we wait for.
And, as I mentioned earlier in this article… I wanted you, dear reader, to experience our Tesla PowerWall installation as a tease. Your wait will NOT be as long as ours, but definitely a good tease, because Tesla was on-time on August 7 and 8 and we have pictures…
…on the next article… However, I don’t have that written yet, and I intend to publish…
…Soon.
In the meantime, a recap of some Tweets I’ve sent out (and some responses) recently…
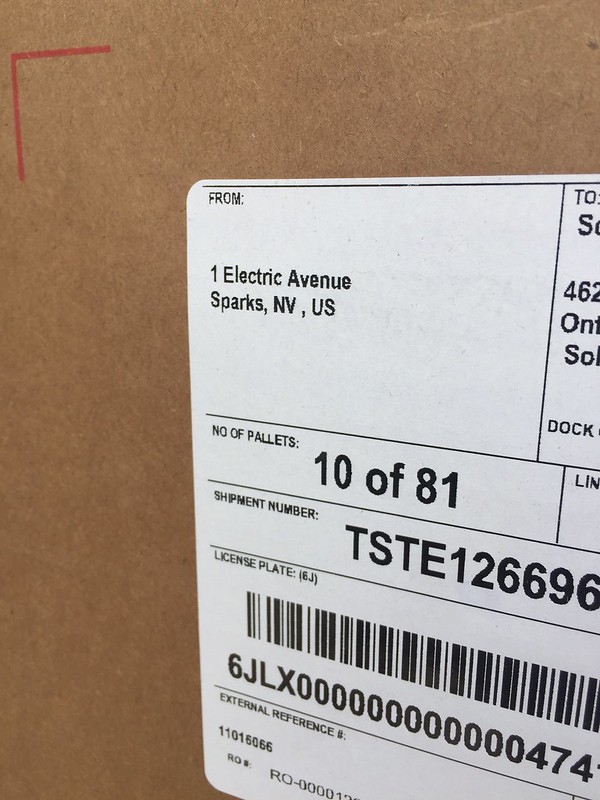
Someone’s got a delivery from 1 Electric Avenue, Sparks, NV USA… from @TeslaMotors, hmm…. ⚡️ pic.twitter.com/pLhhdfgmaL
— Dennis Pascual (@dennis_p) August 8, 2017
Oooh , open it, open it!
— E.V. Grin (@antday) August 8, 2017
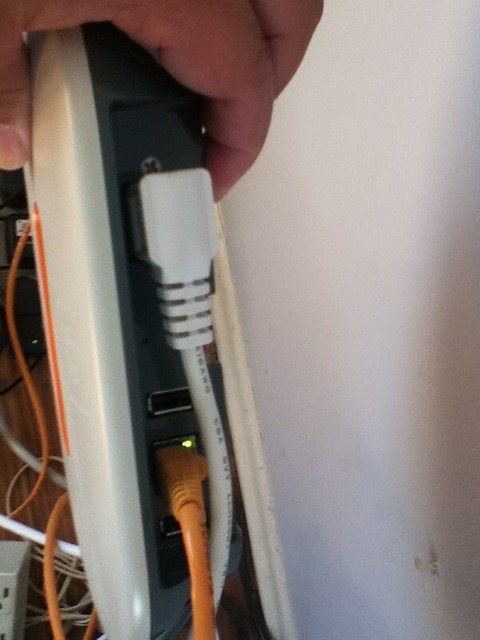
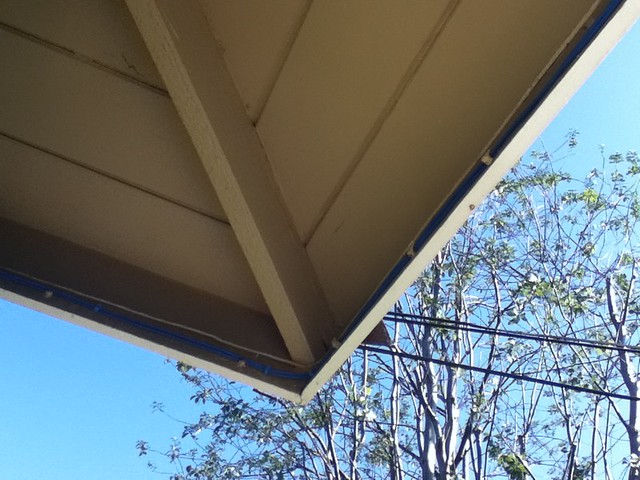
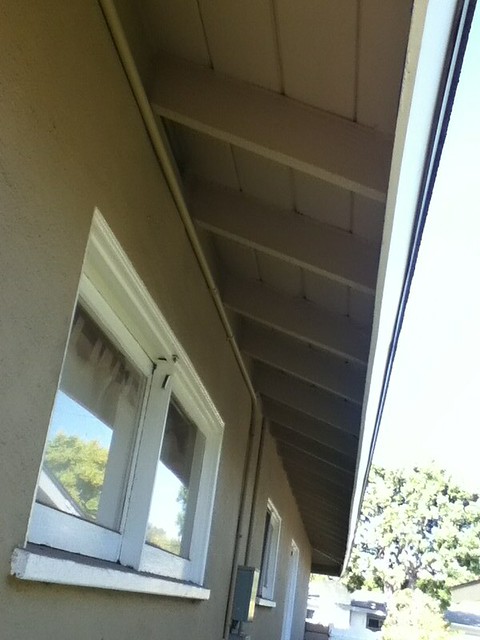
Because of some requests. Some other pictures from this “current” project. (AC version after all ) pic.twitter.com/5o5E8kFoNe
— Dennis Pascual (@dennis_p) August 8, 2017
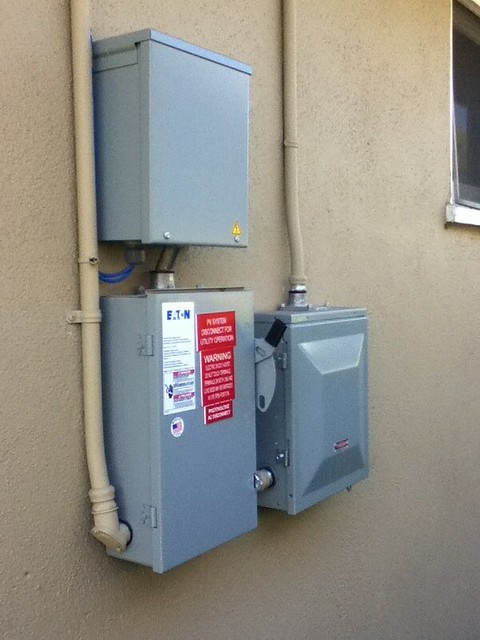
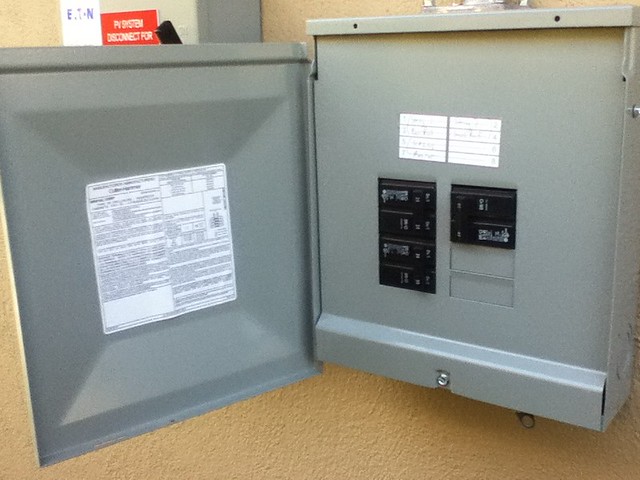
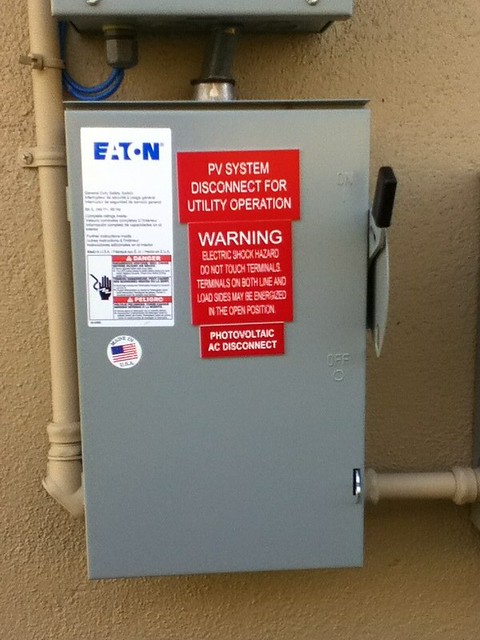
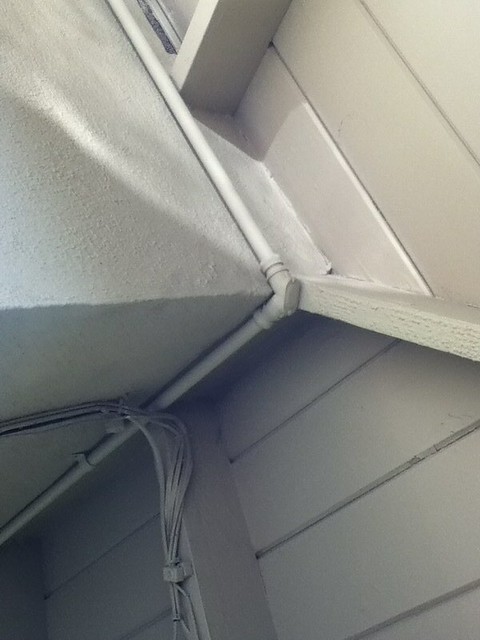
Our friends from @TeslaMotors had to add a new main panel at 200A and made our main a BIG Sub-Panel. Check out the size of the pipes. pic.twitter.com/jpIySKJGbe
— Dennis Pascual (@dennis_p) August 8, 2017
@vdivanov corrected me and said CONDUITS, ’cause it’s not liquids going through that!
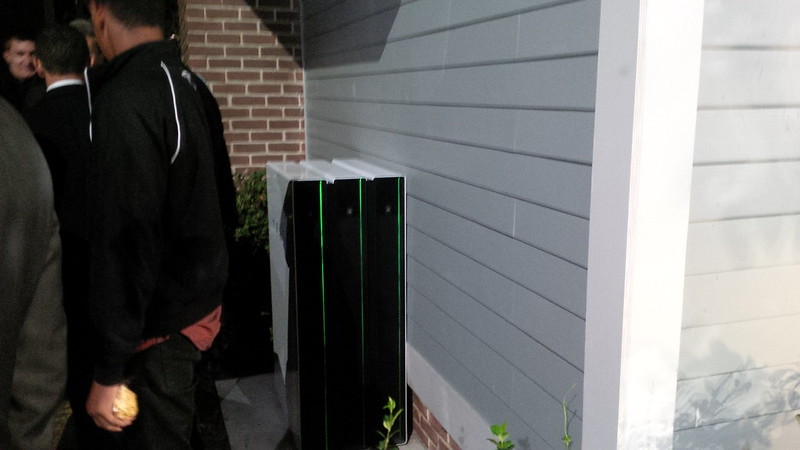
However. The requests for our new ⚡️ from @TeslaMotors is the unboxing. So… pic.twitter.com/KSguP5ZoLP
— Dennis Pascual (@dennis_p) August 8, 2017
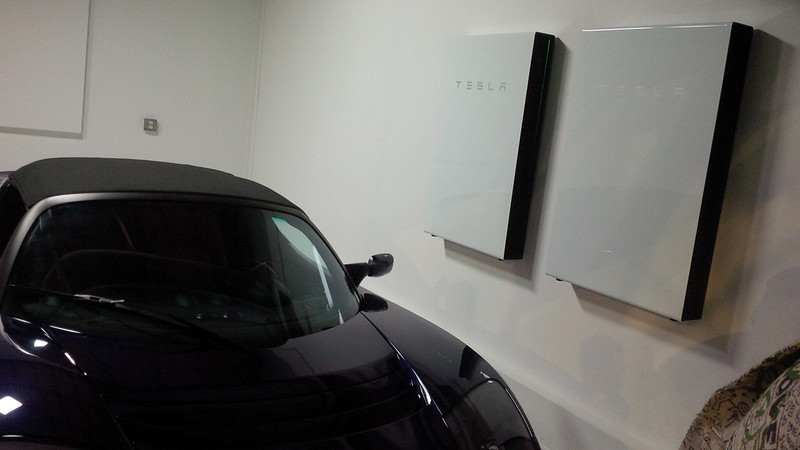
First @TeslaMotors PowerWall2 getting ready to be secured against the wall. ⚡️ pic.twitter.com/2XVHgFMLSz
— Dennis Pascual (@dennis_p) August 8, 2017
Lots more to come, in another article… SOON!