A picture is worth a 1000 words… So,here are some pictures…
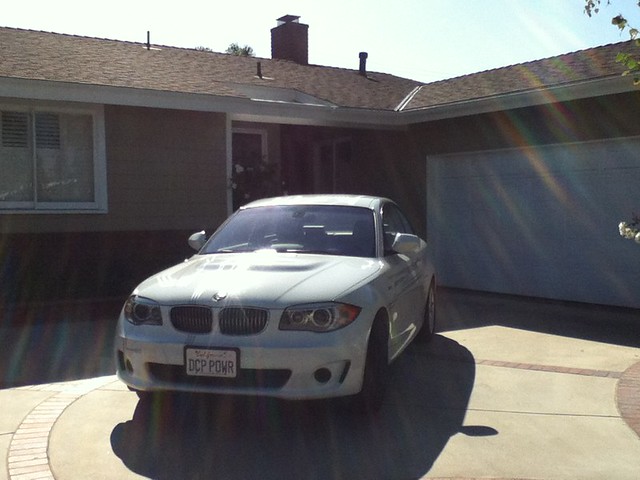
This is what the front of the house looks like. One of the good things about our house is the fact that the south facing roof (the one with the most power generating capability) is not on the front of the house. This fact made it easier to sell Solar Power to the better half on the aesthetics of the solution.
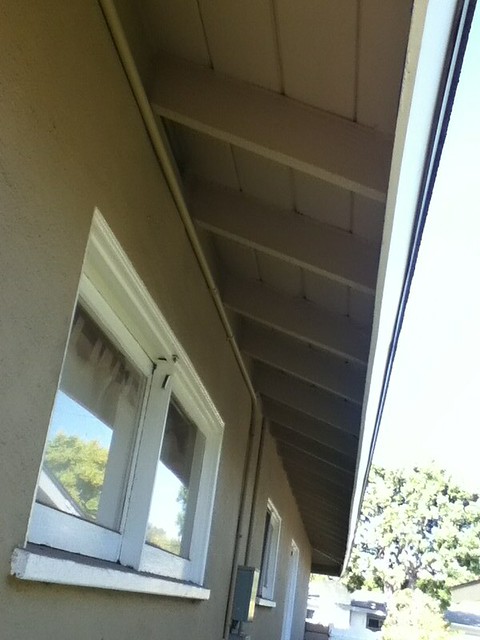
More front of the house shots. Closer to the roof –
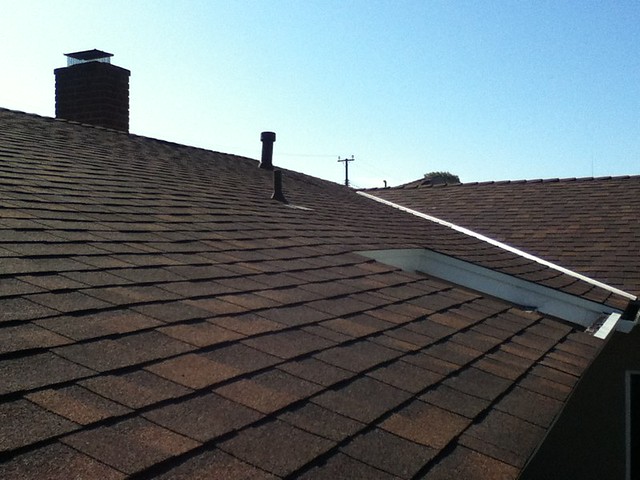
My new roof looks great, but you’re here for the Solar pictures…
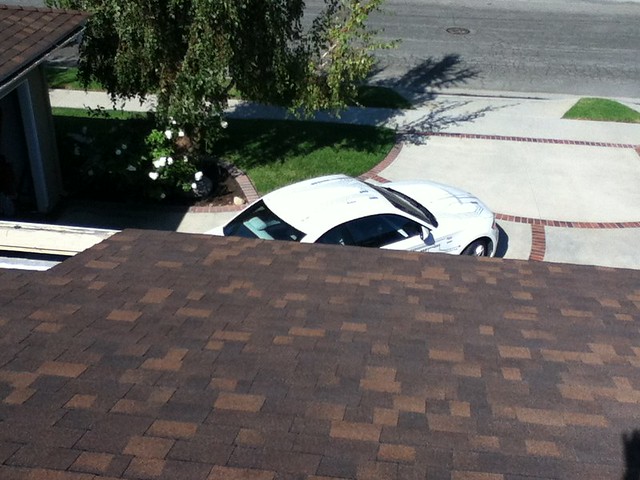
So, the next picture is from the backyard looking up.
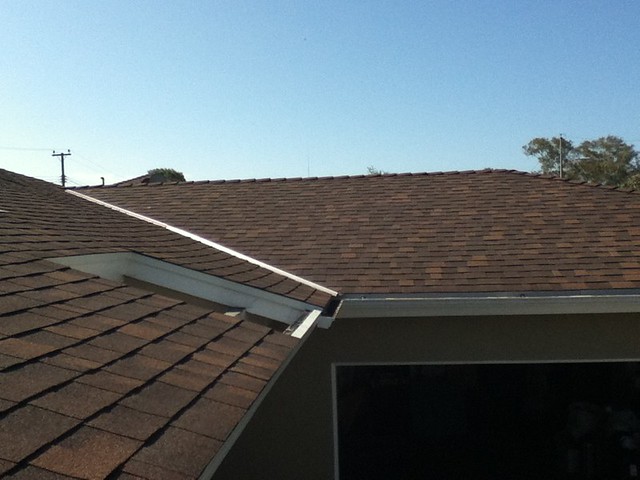
That doesn’t really give you a good shot of it, so… Even though I have a fear of the sudden stop after a fall… (i.e. it’s not really the heights that scare me or kill you.) I decided to get on the roof to take some pictures.
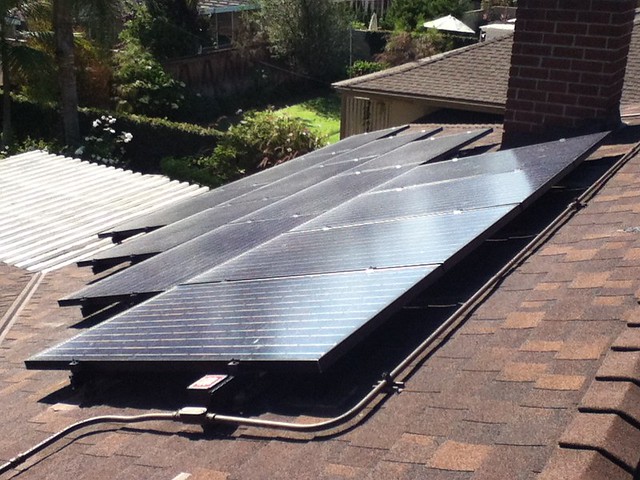
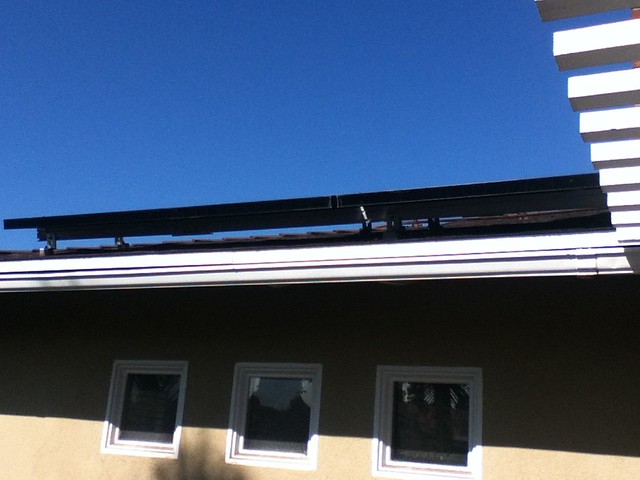
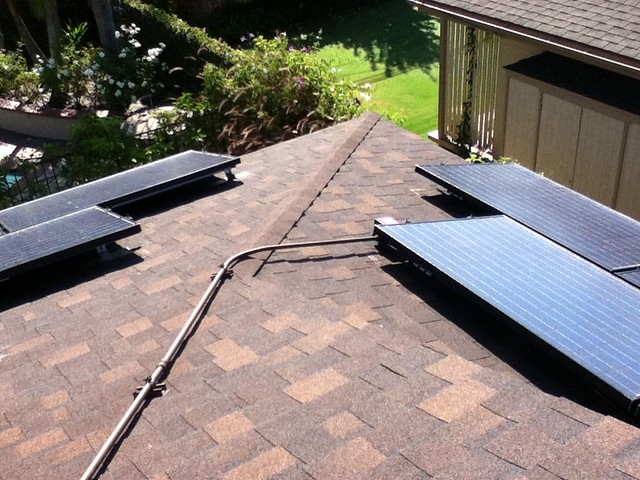
Here is a nice shot of the conduit runs for the electrical cable.

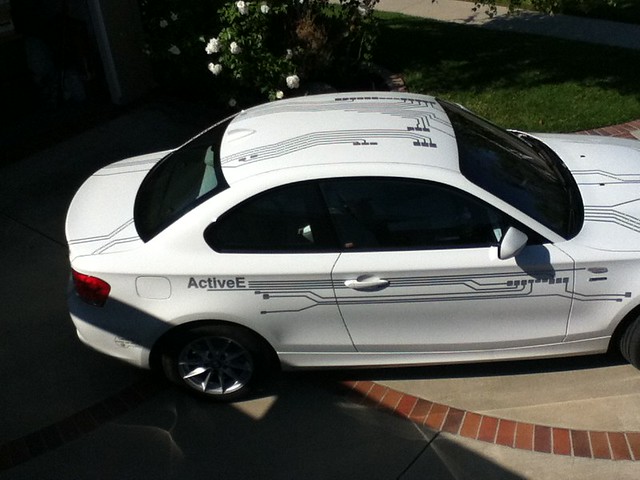
Here’s the ActiveE peeking out from the roof.
Closer shot…
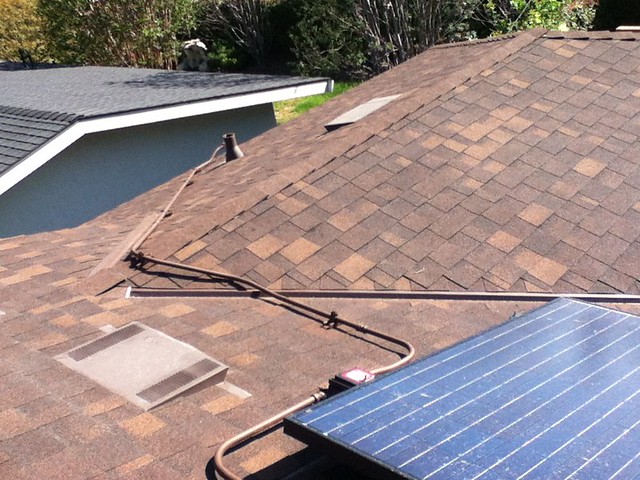
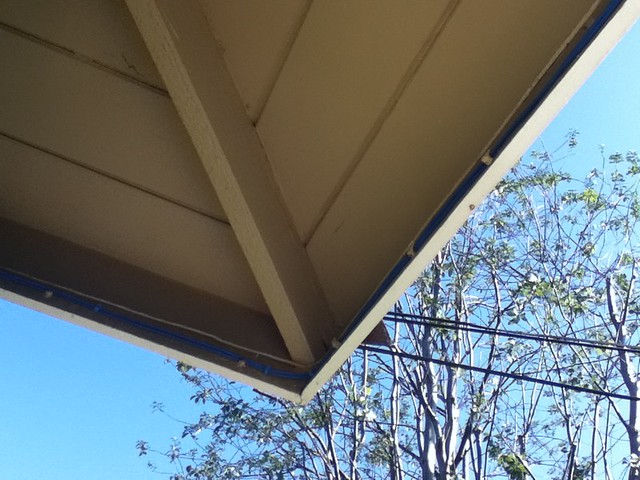
Here’s a shot of the junction from the South Facing and the West Facing roof… The conduit still looks good.
Better shot of the junction
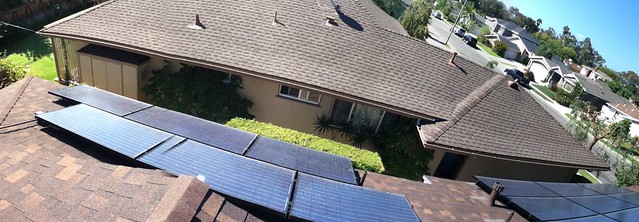
Panoramic of my most productive panels
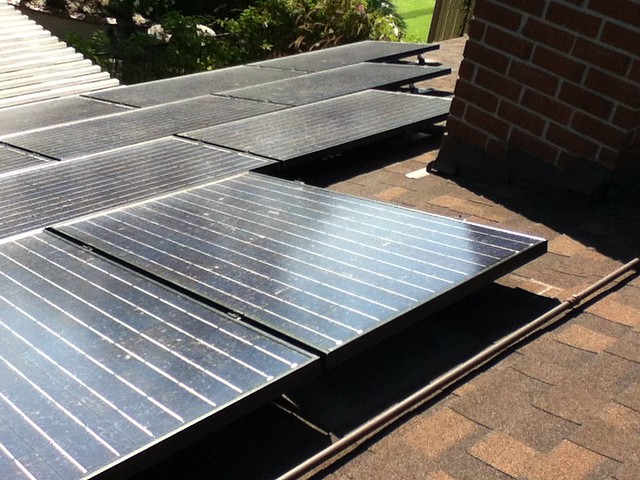
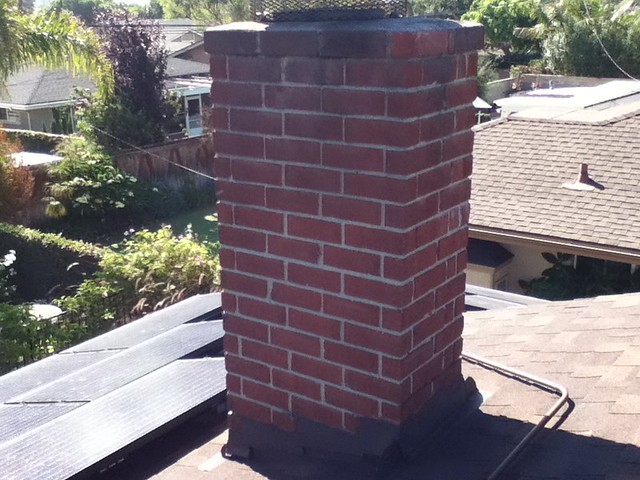
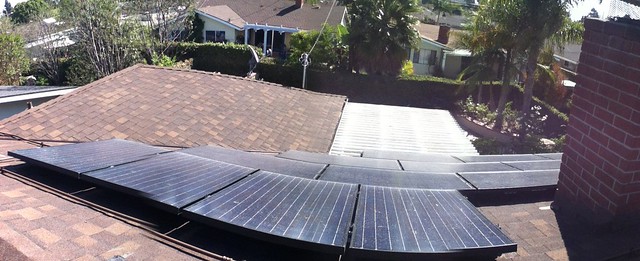
Panoramic by the chimney. The shading really wrecks havoc on my production for three of the panels.
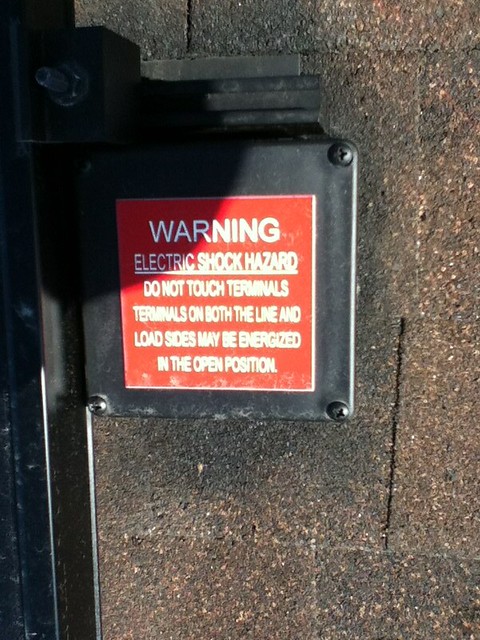
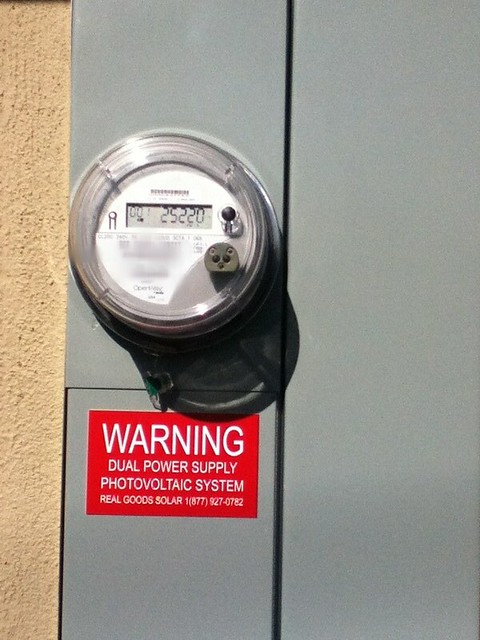
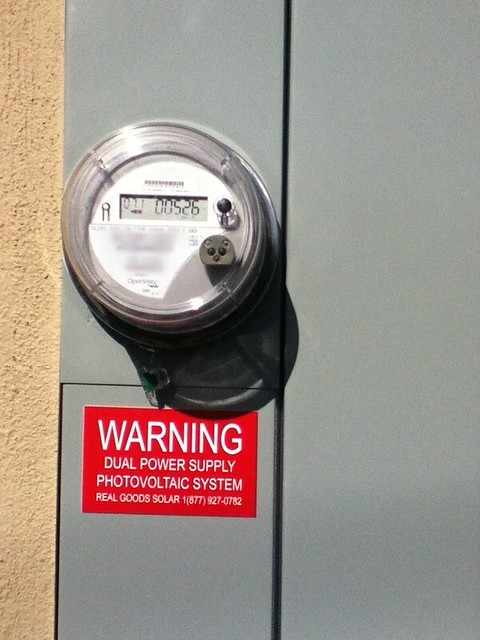
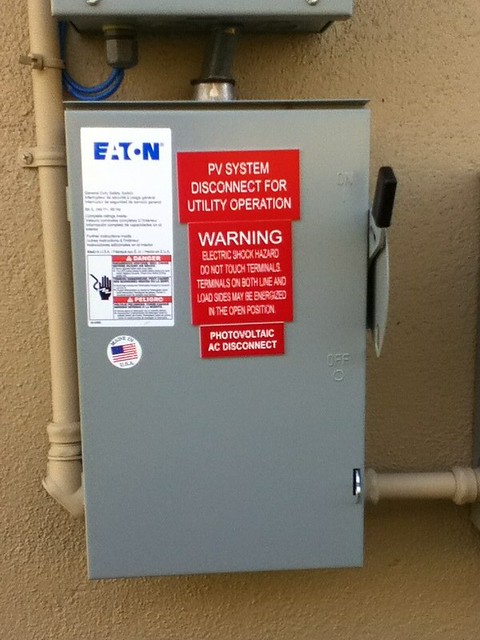
Some of the nice warning signs
Another shot of the ActiveE from the roof…
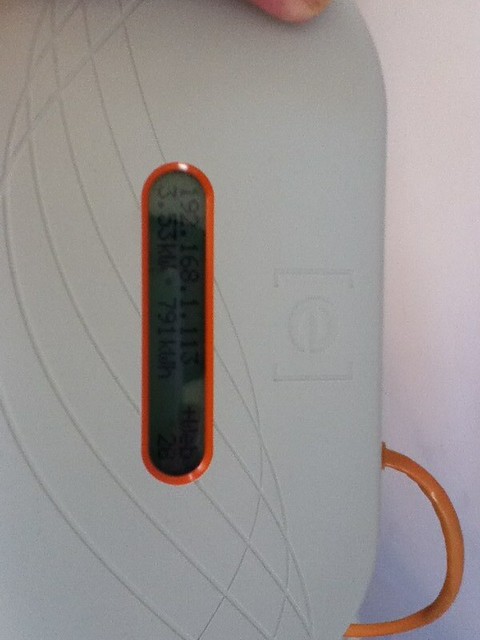
Meter is going backward! Success!
One of the things you get with Real Goods Solar under this plan is TWO monitoring systems. This one is a closed system mounted by your panel and it is for the finance company to ensure that they’re producing what they committed to.
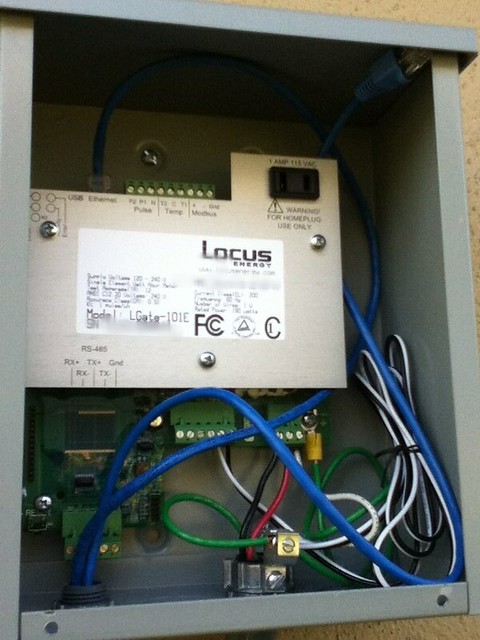
Here’s the one from Enphase that allows the user to see what the system is producing. It connects to the panel via Ethernet over Power and then you need to have a port on your router to connect to the Internet.
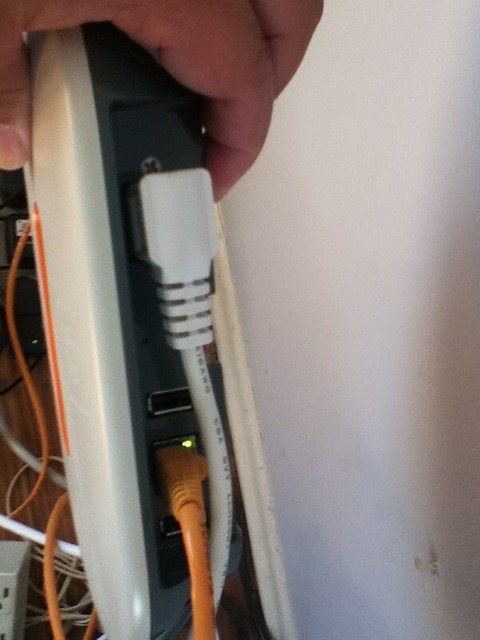
Here’s the ports on the box –
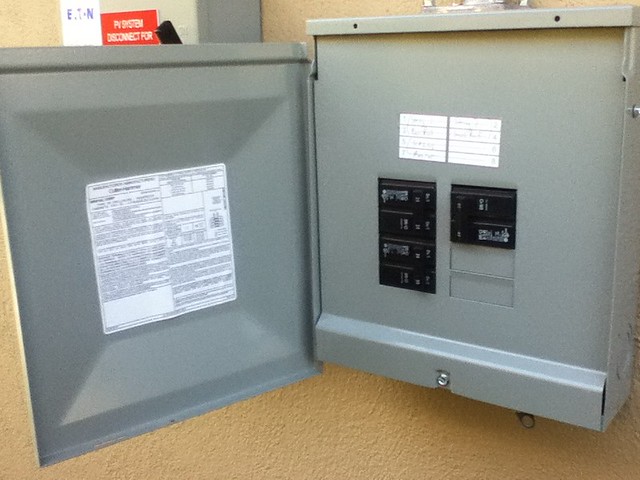
Here is the sub-panel for the whole system –
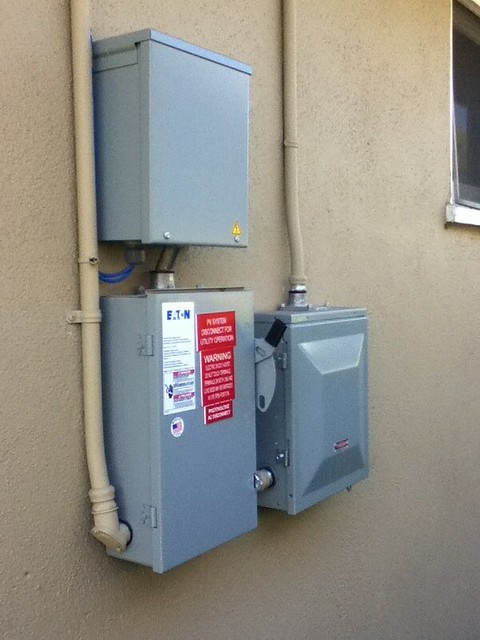
These are the breakers for each of the 3 sets –
Here’s the disconnect for the whole system –
Lastly, the installation was very clean, here is where they ran the power to the main breaker as well as the Ethernet for the monitoring.
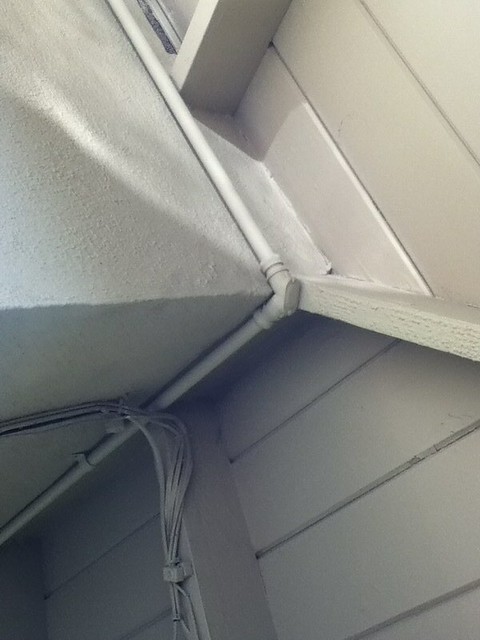
The conduit on the left side (on the wall of the house) is where the power comes from the solar panels to the main panel.
I asked them to run two Ethernet runs from the monitoring to the wall so that there’s one spare in case of failure in the future. This sucker is supposed to last 20 years.
That’s it. Several THOUSAND WORDS worth of pictures.
Interested in going solar? Get a quote from my solar vendor – Real Goods Solar.
Thanks for posting the pictures Dennis! Looks nice and seeing all the different parts really helps understand what all is involved in having a system installed.
Your welcome Todd. I’ve been on the road lately and have been backed up on blog posts… Life gets in the way of my EV posts…
I still owe my first Plug In Day experience (went to both LA and OC events).