So, like many people, we received an Amazon Echo Dot for Christmas.
I actually ordered one for us when we decided to GIVE an Echo Dot to my Father-In-Law for his Christmas gift. I wanted to get familiar with the technology before taking on the role of “Alexa Tech Support” for him. We also decided to get an Echo Dot for my techie sister, but I didn’t need to train myself to be her “Alexa Tech Support.”
As a result, we now own multiple Amazon Echo Dots. [As I was writing this post, I realized that Amazon has an affiliate program, so many of the links to Amazon on this post is signed up under that program.]
For those unfamiliar with the Echo Dot, it’s basically a stripped down Amazon Echo integrated high fidelity speaker and voice “assistant” that Amazon created to help stream music and is configurable with many add-on “skills.” It’s basically Siri for your home. However, rather than wake her with the phrase Siri, you call her by her name “Alexa”, (or configure the trigger word to be Amazon or Echo). (On a side note, Google saw what Amazon has done and created the Google Home as a response to Amazon’s Echo. However, the Echo Dot is the less expensive alternative, using a basic speaker as opposed to the high end speakers in the original Echo and the Google Home.) The Echo Dot’s price point without the integrated speakers make it a less expensive way to get into the genre. In lieu of high fidelity speakers, the Echo Dot can be connected via a 3.5mm plug or Bluetooth.
To get the full audio entertainment possibilities for Echo and its eco-system, it is best to have a full Prime membership and the new add-ons that Amazon now sell (Amazon Music which unlocks a whole world of music, in addition to what is already included with Prime Music) I have yet to take that plunge and am currently working with just Prime Music. The base system comes with basic TuneIn included and I find that I Heart Radio can be easily accessed with a free account, the other supported music providers are Pandora and Spotify, neither of which work on Alexa without a premium account, so I don’t use those. Now, with the original Echo, the sound quality is superior and the little speakers on the Echo Dot will do for the indiscriminate listener, however, if you wish to use better speakers, that’s entirely possible by just attaching them to the 3.5mm or pairing via Bluetooth.
With Prime Music, coupled with my own library of albums, I am able to stream music randomly by genre or artist by default. Such as when I ask “Alexa, play Sting” when she responds by “Shuffling songs by Sting” or a specific album, “Alexa, play The Police, Ghost in the Machine” and she responds “Ghost In the Machine, Remastered, by the Police” or my favorite, “Alexa, play New Wave music” and she says “Here is a Station for New Wave music, New Wave.”. I believe that the Amazon Music that I currently don’t subscribe to just expands the universe of albums available. I like to listen to music in complete albums. I’m “old school” like that. I believe that it’s the way that the artists intended for us to experience their work, so it’s great to just listen to albums that I purchased from Amazon directly or the ones provided on Prime Music.
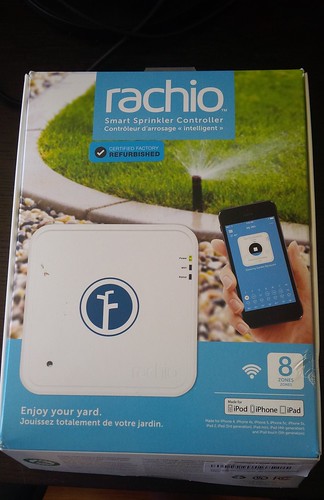
As I started playing around with the Echo Dot, I was amazed at all the little things she can do using voice control. The audio entertainment options are pretty good, but I found that I like having Alexa with me as my voice assistant in my office. I can keep writing and just have her read Wikipedia articles, tell me the weather, tell me a joke, give me my Daily Briefing, give me the latest scores for my favorite sports teams, start or stop my lawn sprinklers, etc.
In the meantime, my techie sister received her own Alexa, and we were chatting about “her” to my sister and we briefly talked about the possibility of integrating Alexa into the car. Considering that Alexa’s Bluetooth capabilities, we thought to give it a try. (Apparently, we were not the only ones thinking about this, here’s a thread on TMC on the same exact thing.)
So, yesterday, I tried driving around with Alexa as my co-pilot.
So, what did I bring with me.
1) Amazon Echo Dot (or “Alexa” as we now call her in our family.)
2) A wi-fi hotspot device
A) A Novotel Mifi Hotspot that I have that uses 3G
B) Enable my mobile’s hotspot function for 4G/LTE.
3) Re-use an existing Micro-USB charging cable in the car.
That was it. Granted the Amazon Echo Dot that I set up in the car was previously configured at home, so we’re skipping that setup, we’re just moving the device from the office to the car. (One of the nice things that Amazon has done is when adding an additional Echo device to the home, it already inherits the Skills learned on the account.)
Step 1
Since we’re starting out with an already configured Echo Dot, we have to get it ready to reconfigure. So, after we plug it into the car, we press the Action Button for Five seconds until the Orange Ring comes back on and go back to setting it up for the new Wi-Fi.
Step 2
This setup assumes that you’ve already configured the Echo Dot at home, so I already had the Alexa App downloaded to my iPad.

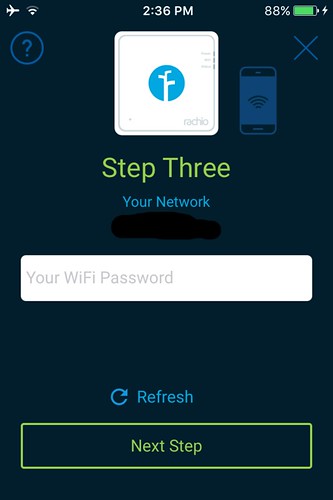
We connect to the Echo Dot via Wi-Fi so that we can use the Alexa App to configure its Wi-Fi to

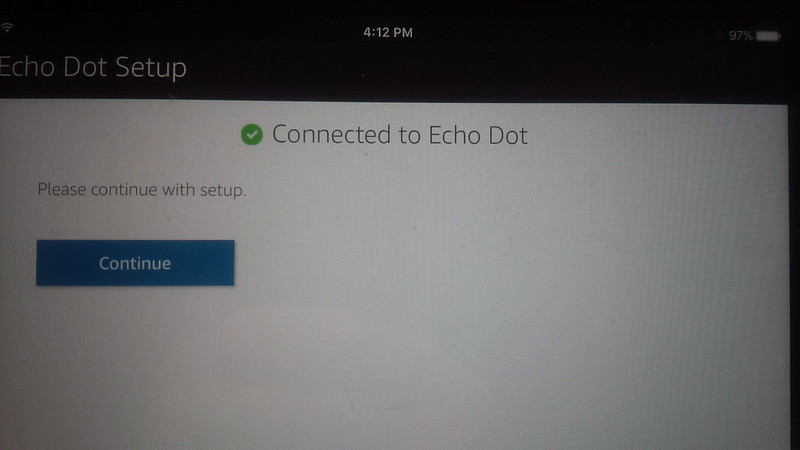
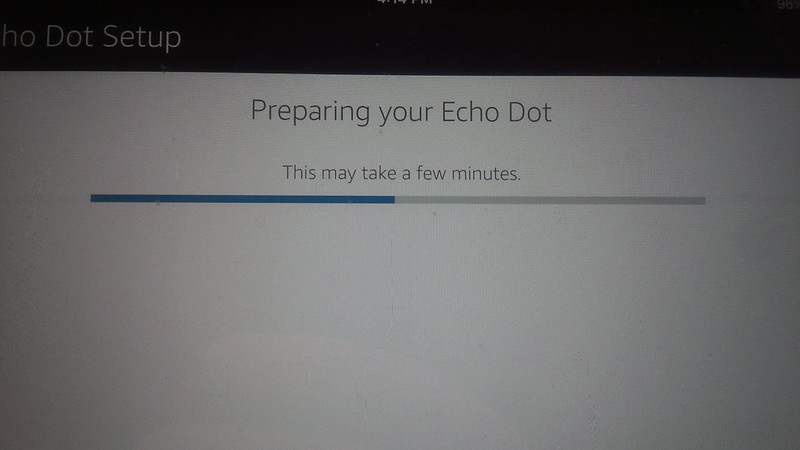
After connecting to the Echo Dot, it will ask you for a few things on the setup screen, the important thing to get everything running is the setup for WiFi, find the mobile hotspot and enter the password OR if it’s hidden, enter the information.
Step 3
For the next step, I’m assuming that you want to use the Echo Dot as a Sound Source for your Model S. I initially started this process on the Alexa App. I went to Settings, selected the Echo Dot that we brought with us and started the Bluetooth Pairing there…
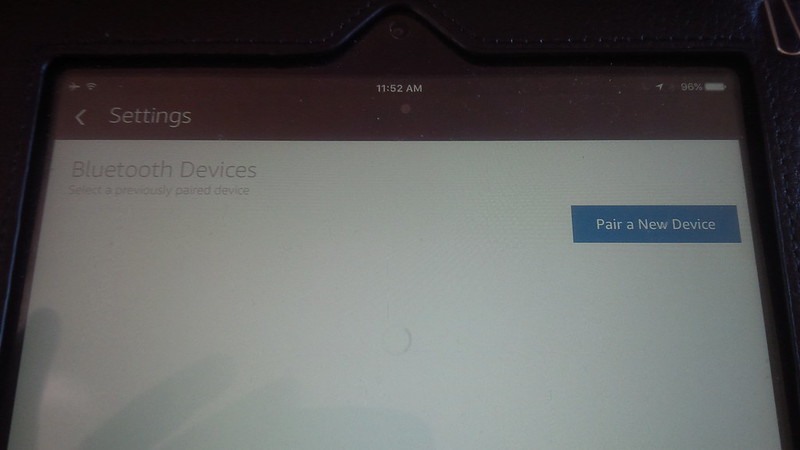
…then decided mid-way to just use the Model S Bluetooth option…
and selected the only Amazon BT that was broadcasting in the parking lot…
and voila… it worked…
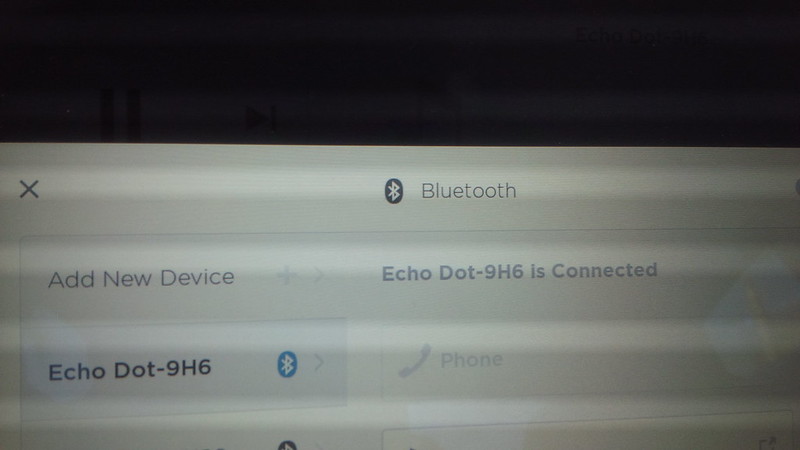
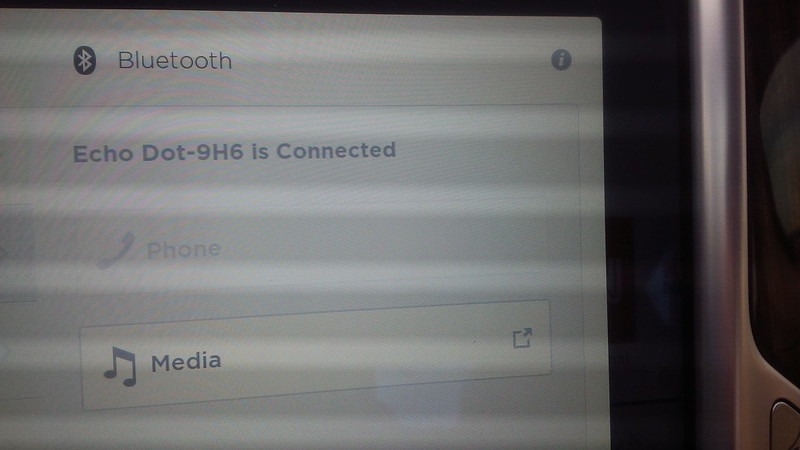
Pay attention to the grayed out Phone and highlighted Media section… This means that to switch to this input, you lose Phone access. (one of my early complaints about the Model S is the fact that the car only connects to ONE Bluetooth device at a time, my old Active E can connect to several and designate one BT as primary for phone calls… But I digress.)
Step 4
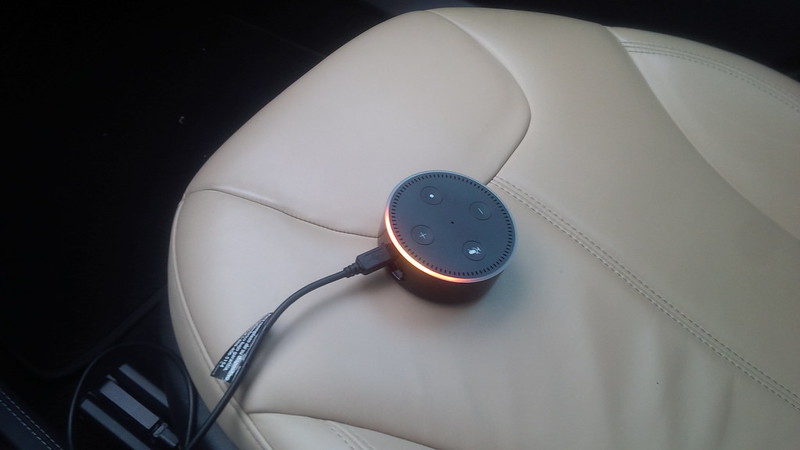
Next comes placement of the device in the car… At first, I placed my Echo Dot in the cup holder.
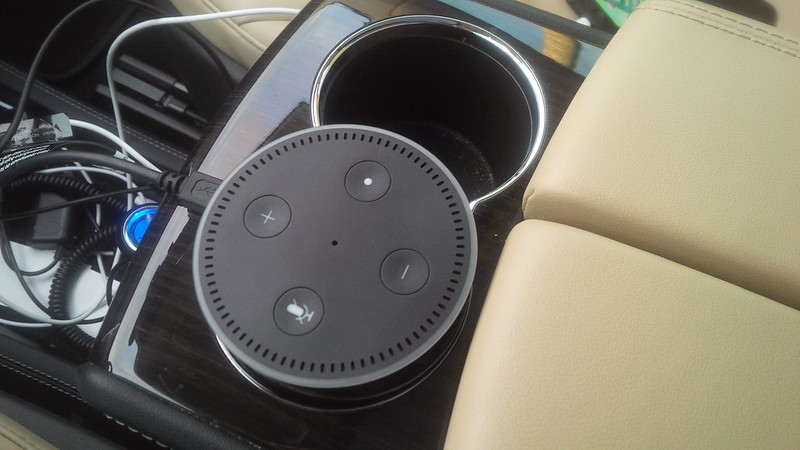
But as ANY Tesla owner can tell you, Tesla cup holder locations are a premium in their vehicles (the Roadster has ONE). So, I ended up relocating Alex down on the base of my car, right beside my Mifi box.
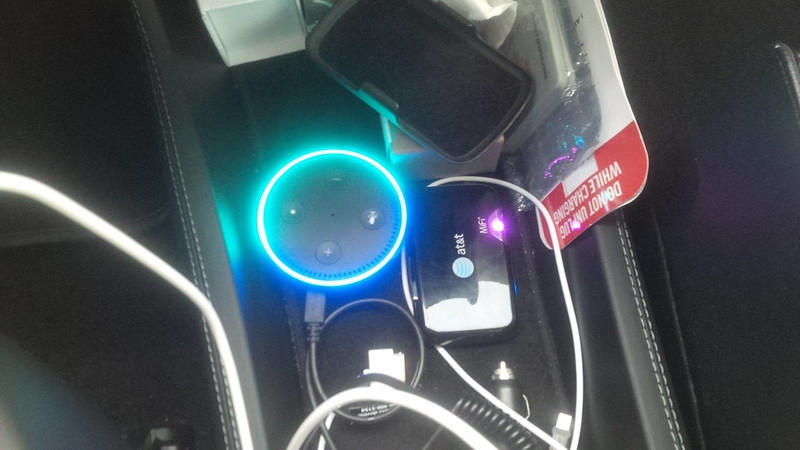
We’re now all set to use Alexa for streaming music while we drove. This worked fine, but I make a lot of calls when I’m out and about and this was not a “safe” way to use it, so I disconnected Alexa from the BT and used her independently of the Model S speakers.
One thing to bear in mind is in EITHER configuration, I had to tell Alexa to go to Volume 8 (maximum) so that I can hear her and the streaming on the Model S Bluetooth can be equivalent to content on the Model S infotainment system.
So, how was it?
Here are a couple of quick 30 second demo videos that I shot. The first one shows Alexa playing the music through the car speakers… One thing that we lose is the display of the music that is playing, it’s no problem, but we have to ask Alexa for the song title, etc if we want to know what is playing. Convenient at home, but on the road, I like the Model S Infotainment display information.
In this second video, we have Alexa as a co-pilot/companion on the drive. So, she has her own speaker, she’s a little faint, but I use the car’s infotainment for the music and Alexa can tell me things that I don’t have to look away from the drive. Things like what the current score is for the Laker game or tell me a joke. One thing that I tried, but didn’t shoot on video was to see if Alexa can independently tell me what music is playing nearby (a la Shazam)… She doesn’t understand that skill. So, I guess I’ll have to see if Shazam will build that skill for Alexa.
Issues
1) The way I had it set-up, Alexa would turn-off and restart everytime I leave and get back in the car. This creates a delay.
2) On 3G and on LTE I got hiccups on the streaming and answers. So, I chalk that up to network providers. As this didn’t matter whether I was on Bluetooth or on Alexa’s own speakers.
3) Not an integration issue, but a syntax one. Alexa currently is pretty picky with syntax, so if you don’t phrase it the same way that Alexa expects, she doesn’t do what you want.
Fixes
1) Get a battery for Alexa. (luckily here’s an Amazon search for Amazon Echo batteries).
A) I haven’t selected one yet, but I’m leaning on getting this one –
Evo – an intelligent Battery Base for 2nd Generation Echo Dot. (“Alexa” unlimited) (EVO Black)
2) The LTE connection that I had was better than the 3G one, but I wanted to try it out and having multiple providers is useful to see the effect. In the end, a 3G network will suffice. However, it is important to get a better network connection. Also, it will be important to know that Alexa, like the car’s streaming infotainment does require that a network connection be available. Something that may or may not be available on longer drives.
3) Skills, skills, skills. And further enhancement of the product.
Future
In the end, it was novel to have Alexa with me on my drive and errands yesterday, but there’s still a way to go before she becomes a fixture on our long EV trips (like our Here, There, and EVerywhere or Long Way Round trips.) Let’s hope that more skills are developed for Alexa that will tie in with the Model S better. I find myself tempted to buy some Electric Motor Werks chargers because they HAVE an Alexa Skill built for the Juicebox… Maybe some other time…
Besides, if Tesla ever removes Slacker from the Model S, an Echo Dot with Alexa paired might be a good alternative…
Are you in the market for a Tesla Model S or Tesla Model X? Please think of using my referral code. I need one more for luggage and you save $1000 USD or £750 GBP (or whatever currency equivalent is in your country.) Referral purchases are what powered our Gigafactory Party invite and our jacket and overnight bag.