[edited links 1/1/2017 to product for Amazon Affiliate program, I was NOT an affiliate when I originally reviewed the product, links provided now are through the Amazon Affiliate program]
We live in drought-stricken California. We try our best to merge green solutions while also saving money. We’re not the “best” of the environmentally-enlightened, but we do try. Some have taken more aggressive stances when it comes to dealing with the drought. We were not willing to rip up our lawn and put in indigenous desert plants for the arid Southern California climate, nor were we willing to rip up our lawn and replace with an artificial one. So, we figured to do something “drought” friendlier and more convenient than scrambling to turn off our sprinkler the few instances that it does rain.
On March 9, 2016 we decided to pick up a woot.com deal for a refurbished Rachio 8ZULW 8 Zone Wi-Fi Sprinkler. After shipping and taxes the whole thing ended up costing us $136.24. This device has been on woot.com several time before (and since we bought it) but what really clinched the deal for us was there was a $119.99 rebate that was offered by local agencies. (As of this latest edit on 1/1/2017, The Rachio 8 Zone Irrigation Controller is now only sold via third parties, the Rachio 16 Zone Smart Sprinkler Controller
or the Updated Rachio 8 Zone 2nd Generation
are still available directly from Amazon.)
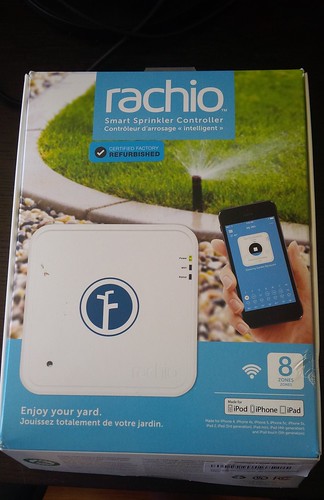
This particular smart sprinkler controller is designed to optimize watering of the end user’s lawn and save the user water on this use. It adjusts the watering times based on the season as well as shut down the scheduled watering when there is scheduled precipitation based on weather reports. I’m not the most handy of guys, but thought to tackle this upgrade of our lawn watering by replacing our traditional timer with the Rachio 8ZULW. We only had five zones wired at home, so I thought that this was the ideal size.
So, how did we go about replacing our sprinkler controller with this smart sprinkler controller? Since we were replacing an existing set-up, it was pretty easy.
Step One – Identify what we have
Identify how many zones. (size controller for set-up). As mentioned before, we have five zones, so an eight zone system works great.
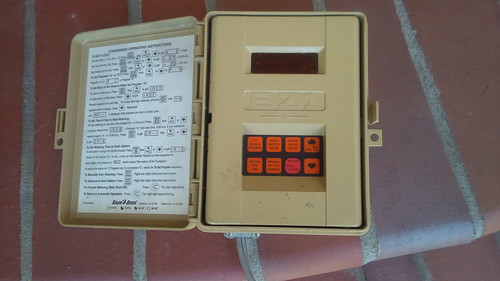
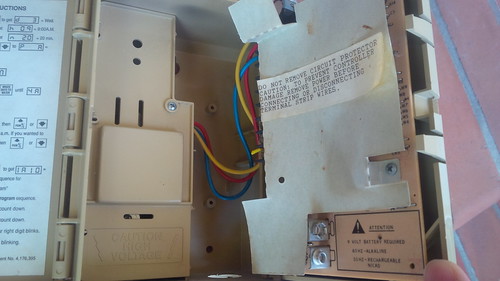
Step Two – Deinstall existing
De-install existing controller and identify where each zone is on the lawn.
This was our old controller:
Step Three- Install new Hardware
Install each zone to the relevant spot on the new controller.
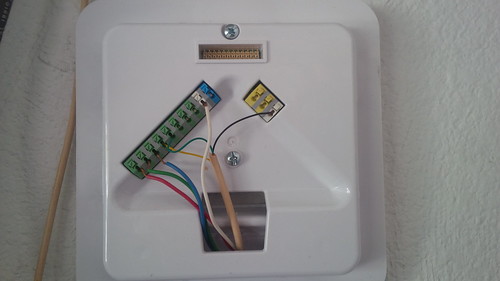
Mount it on the wall.
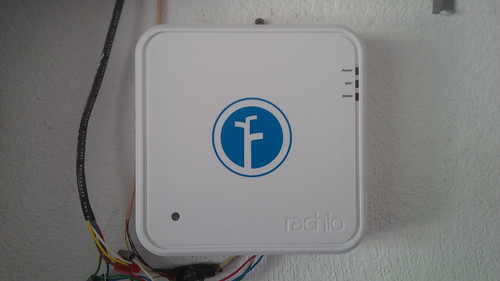
Plug it in.
Turned out our wi-fi network won’t reach the garage, so we had to get that taken care of.
Step Four – Make sure wi-fi reaches device
Install our wi-fi extender. (Had an extra one already, had to re-position it to reach the garage.) This is important not just for the sprinkler head, but also for the Model S. It’s helpful to have it over Wi-Fi while in the garage rather than rely solely on the LTE connection.
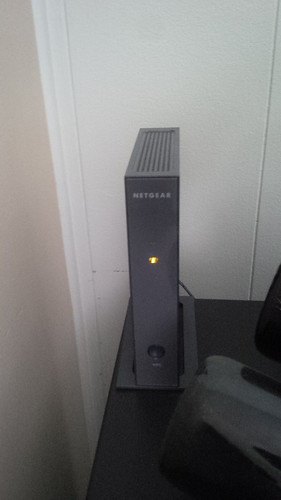
Here is our wi-fi extender un-synced.
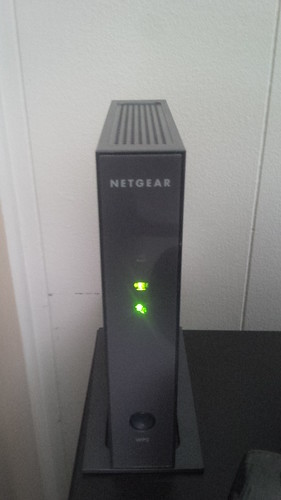
and now synced
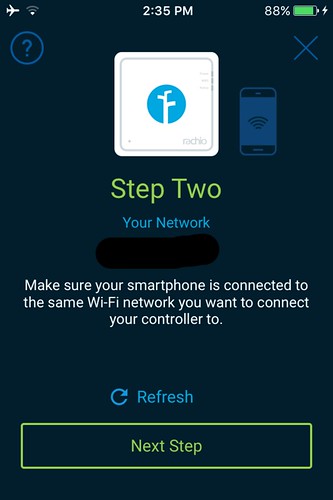
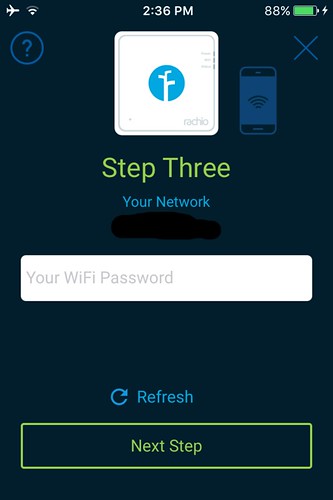
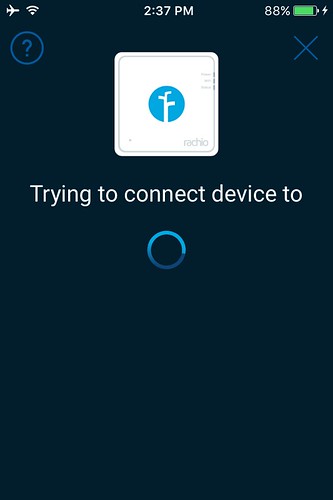
Step Five – Connect Device to Wi-Fi
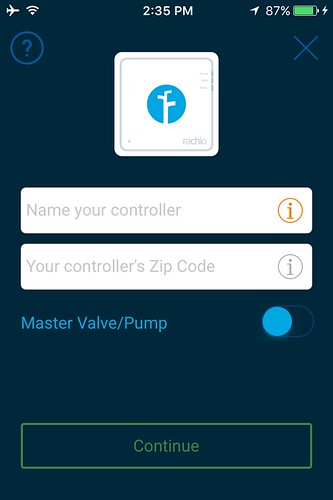
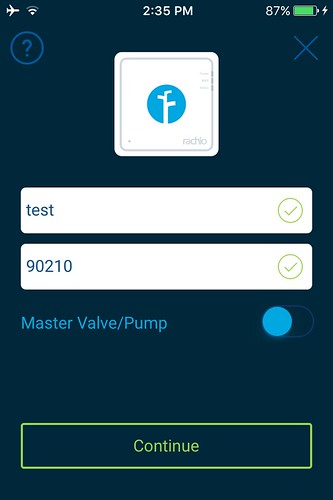
Continue the software setup of the controller to get it operational. Download the Rachio app (I use iOS devices, so I downloaded that version. I believe there is also an Android one.)
I set up a Rachio Generation 1 controller (that’s what we got refurbished) and followed the set-up from the App.
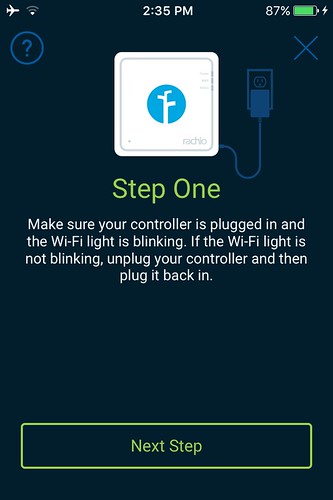
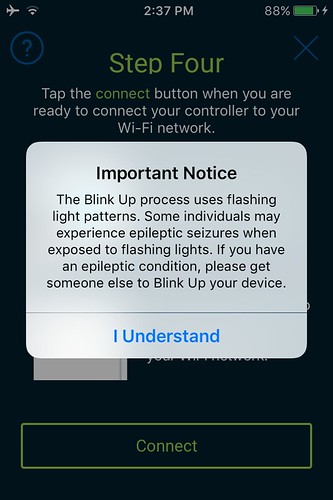
It starts a five second count down to allow the user to place the face of the iphone device on the optical sensor on the controller to allow it to configure itself to the wi-fi network.

When done the app will look for the controller via the Internet connection.
Step Six – Configure software
The rest of the configuration is completed in the app. I forgot to take the screenshots of each section, but it asked for the type of foliage and soil conditions for each zone. I initially configured it this way, but reverted to a timed base one… For now, I wanted to get comfortable and there is a watering limit in my neighborhood and didn’t want the zones to overflow.
Step Seven – Just run it.
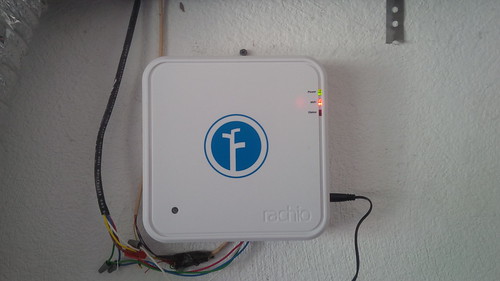
This is what the controller looks when it is ready to go.

Step Eight – Review the screens and reports available.
Configuring the controller was easy.
Here is the Home page, it let’s us know the status of the controller and the local weather.
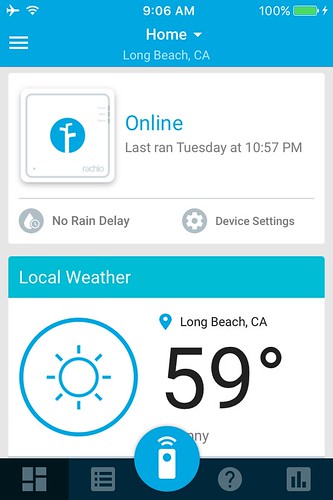
Give us a look ahead to what the local weather looks like. (This is Southern California, after all, and rain is not so common, but when it does, we have laws on the books to prevent us from running our sprinklers.)
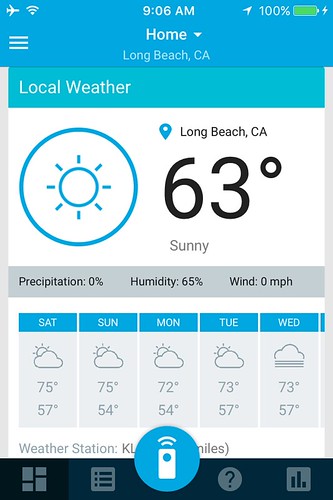
Furthermore, during the non-Summer months, we’re limited to two days of watering per week. In the Summer months, Thursday is added on. However, the screenshot was of April and we only water Saturday and Tuesday.
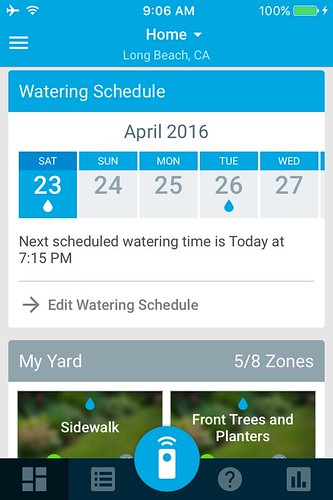
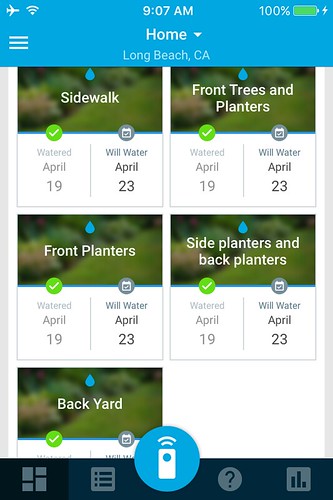
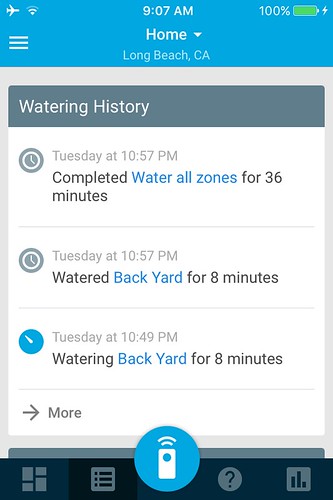
The next screen shows the status of which zones were watered and when the next one will be watered.
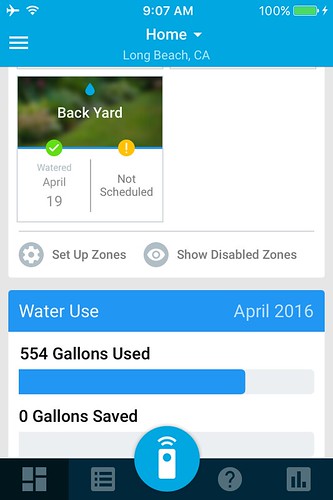
Finally, an estimate of how many gallons of water were used to water our yard.
Reports of how long the sprinklers ran in previous events.
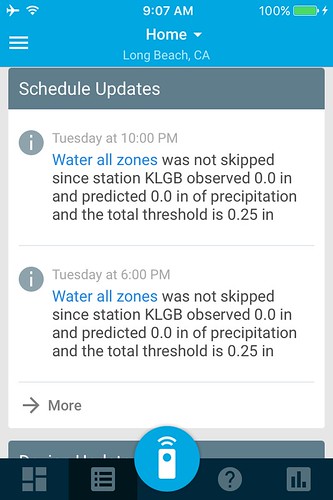
As well as when rain happens and the sprinklers are shut down.
There are some interesting community stats as well as individual stats.
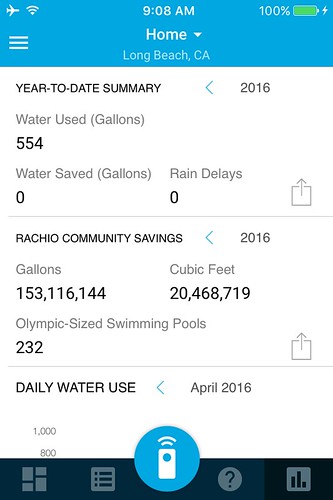
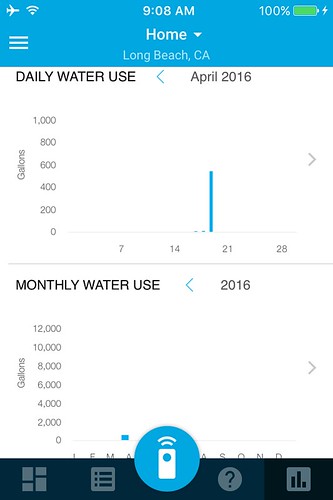
And then estimated charts of water use. This is important to note that it is not actually measuring the water flow, it is just estimating it based upon when valves are opened and closed and the average flow of water in average households.
So, did it work? It’s been several months since we’ve added the controller to our system and though we expected more precipitation this year due to the El Nino effect, we’ve had very few instances of rain to initiate a skip of a scheduled watering event.
One of the things that we did see during the summer is the Smart Cycle that split some watering sessions to minimize run-off by splitting the session in half.
Step Nine – Receive Rebate Check and deposit.
On the financial side, however, we received a rebate check for $119.99 on May 16, 2016, so after all this, we picked up the sprinkler controller for $16.25. Considering sprinkler controllers for five zones that are NOT intelligent are at least $50, still a great deal.
One thing that the controller does is report status via in app notifications to my connected iOS devices. I often get notifications from the Rachio application when the controller starts the watering cycle and when it ends. Additionally, I have created a second schedule to accommodate the additional day allowed by the city to water during the Summer months. Furthermore, in the instances when the controller is knocked off-line, it reports this error as well. I’ve found this to be helpful feedback.
Hopefully the device will “earn its keep”. I think that it’s good to be aware of what we’re using, but not quite sure if we’ve really saved much water… Yet. Perhaps with the Smart Cycle, but I’m not sure.
[Update 1/1/2017, I have successfully integrated this product with Amazon’s Alexa and it is definitely “earning its keep”. The smart skip feature alone helps save water as it checks for rain and the wet 2016-2017 Early-Winter has been good. I’ll probably have a follow up post on using it with Alexa.]